XC schedule is now online!

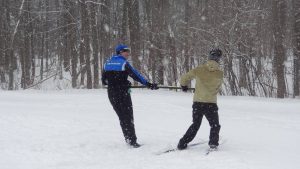
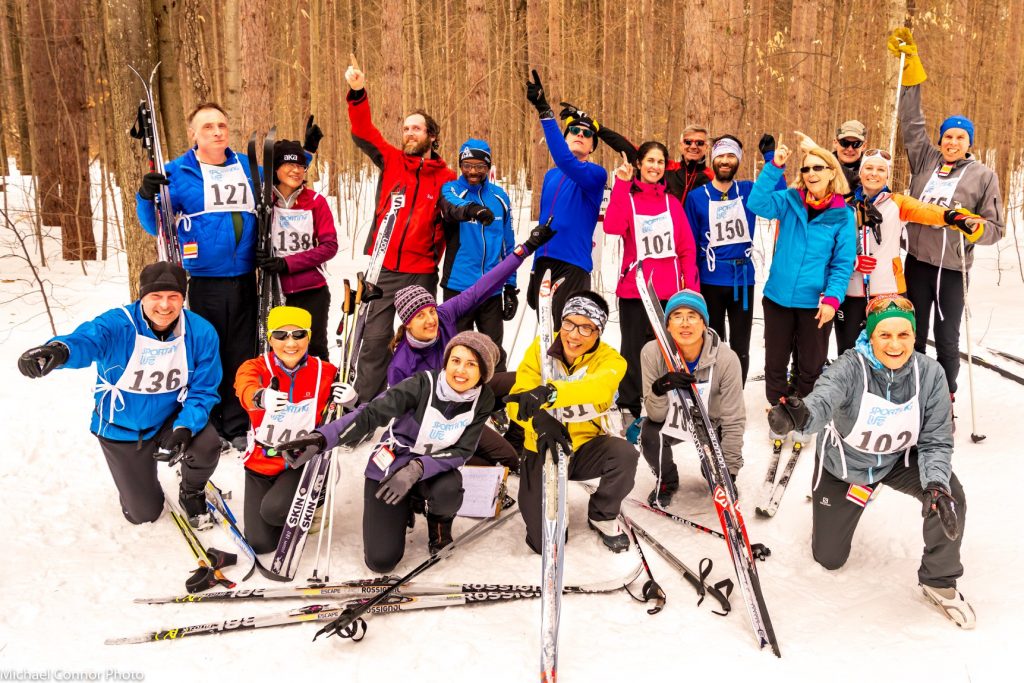
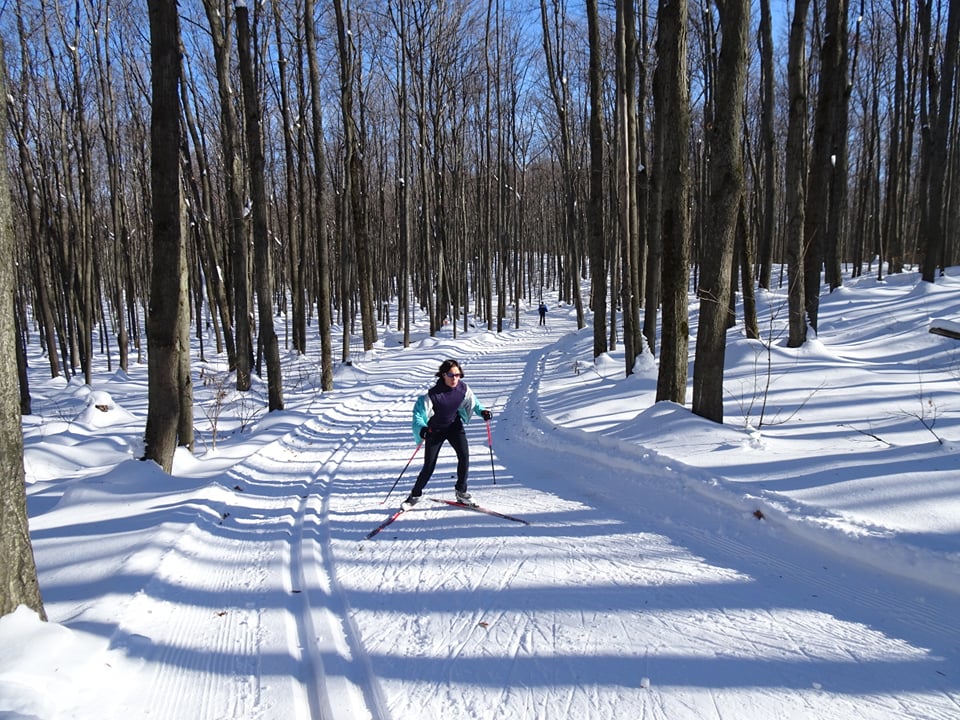
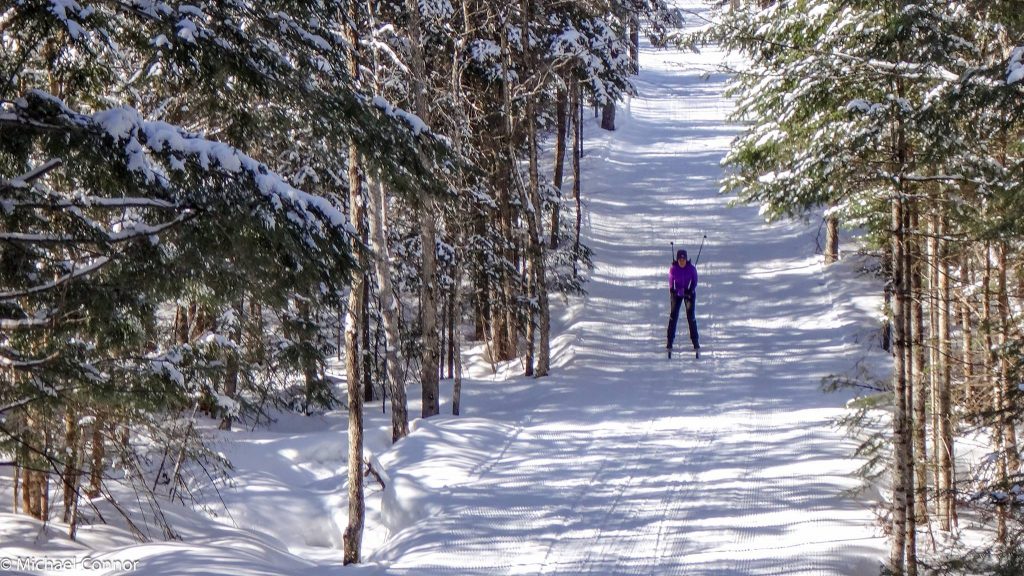
This could be you flying down a hill at Arrowhead Provincial Park. Check out our schedule to find when we’re going there! Photo cred: Michael Connor.

The snow is flying in Toronto and up north, and you can now view the full cross-country schedule, with all of our fun programming, on the website.

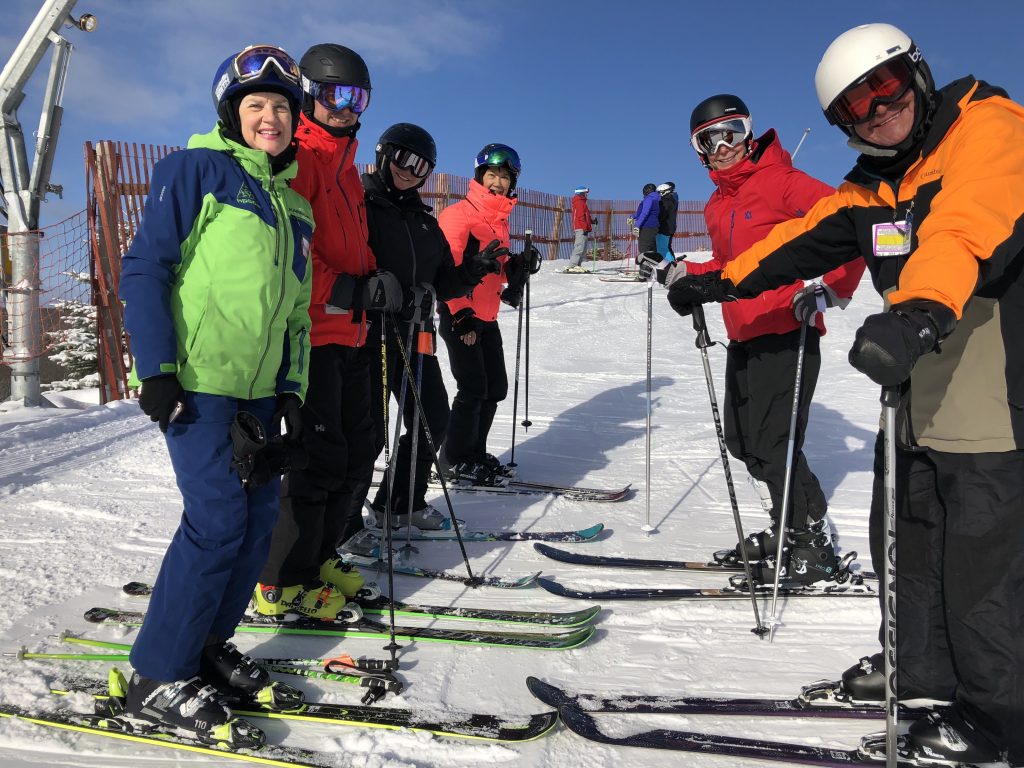
The early December trips are combo trips with downhill and are open for registration. The Dec. 28 and early January trips will be available for registration the first week of December.

Here are some highlights of our season…

  • December 28th – our annual New Year’s Eve Celebration with bubbly and snacks after skiing.
  • Test drives on Jan. 5 & Jan. 11. Get your friends to try out our amazing club! They can register through the website without buying a membership.
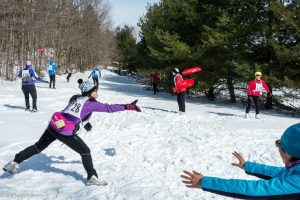
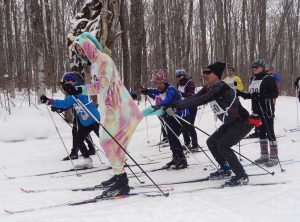
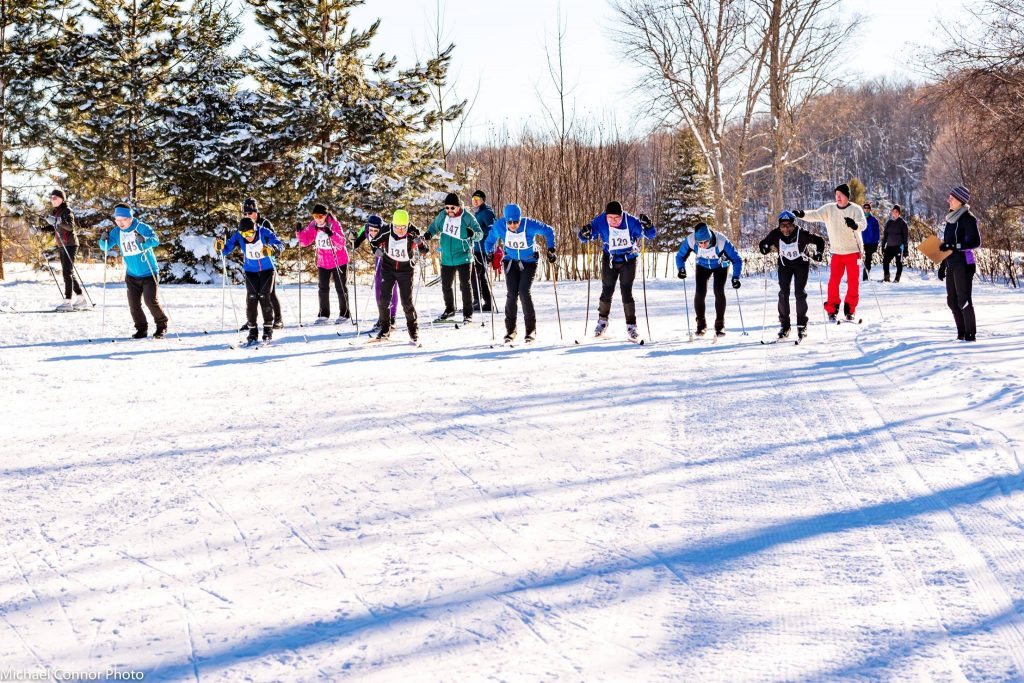
  • Test your skills and have some fun in our race series! We open with our annual Frisbee Biathlon on Jan. 4 at Highlands and end with our new Beginner/Advanced Spring Fling Costume Race on Mar. 8 at Horseshoe Valley.
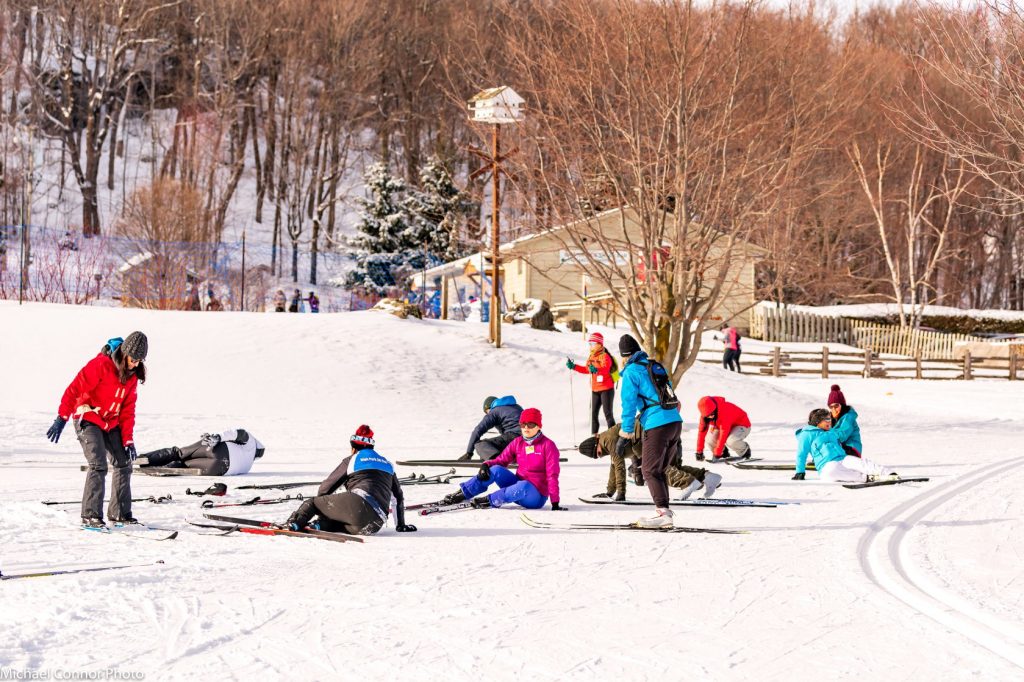
  • Crossover Day is Jan. 25! We welcome our downhill friends and celebrate XC skiing and snowshoeing with a scavenger race and wine and cheese.
  • Explore the backcountry at Kolapore with our experienced guides on Feb. 8.
  • Have a tasty dinner with your friends after a day of skiing with our dinner trip to Amiche on Feb. 29.
  • Two trips to a NEW to us resort – Kawartha! Join us Jan. 26 and Mar. 14.
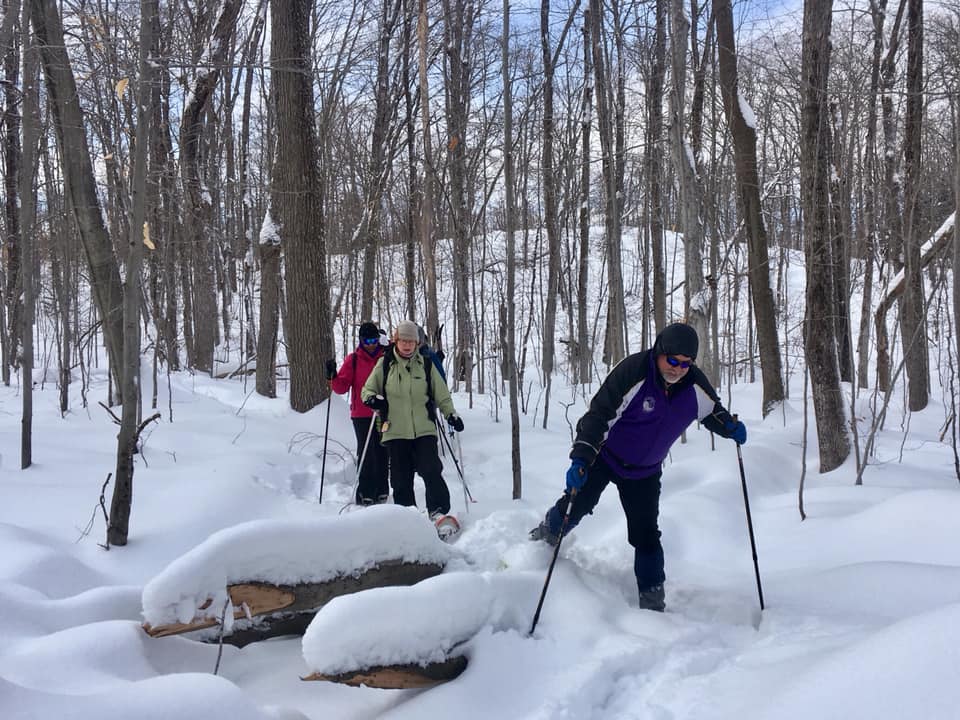
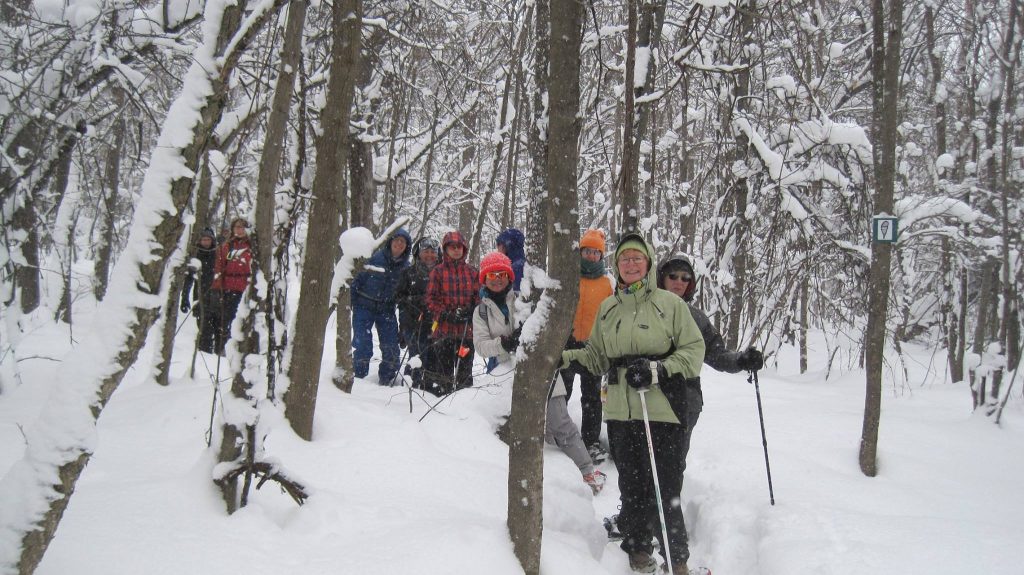
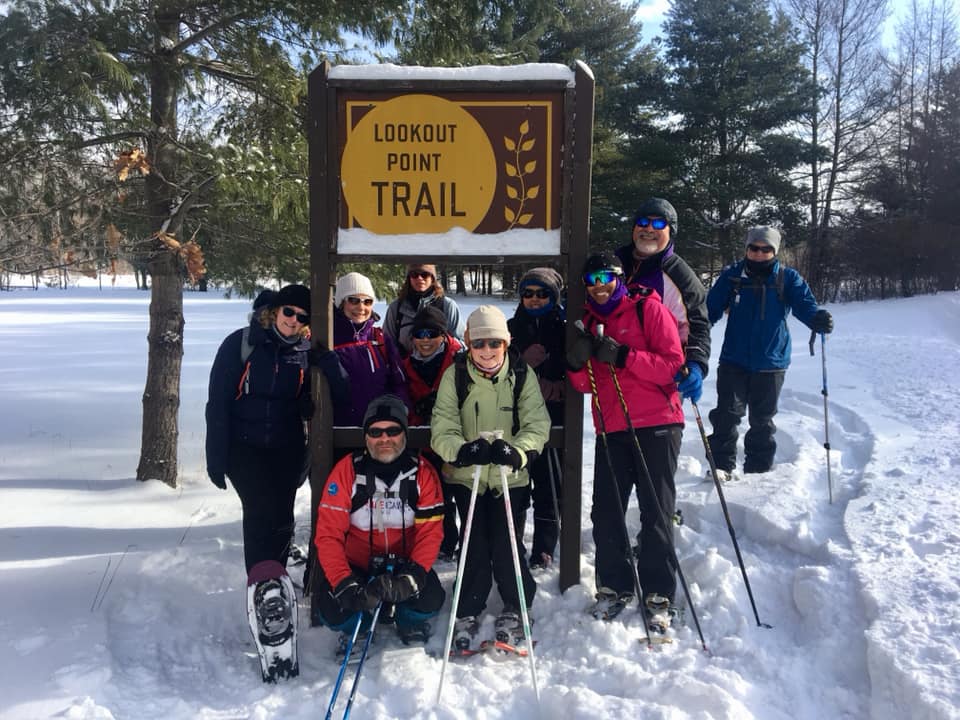
  • Guided snowshoeing on Dec. 28, Jan. 5, Jan. 11, Jan. 18, Feb. 2, Feb. 8,  Feb. 22, Feb. 29,  Mar. 7, Mar. 14, and Mar. 21.
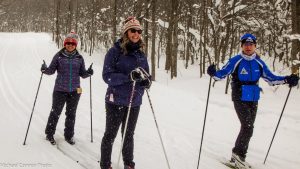
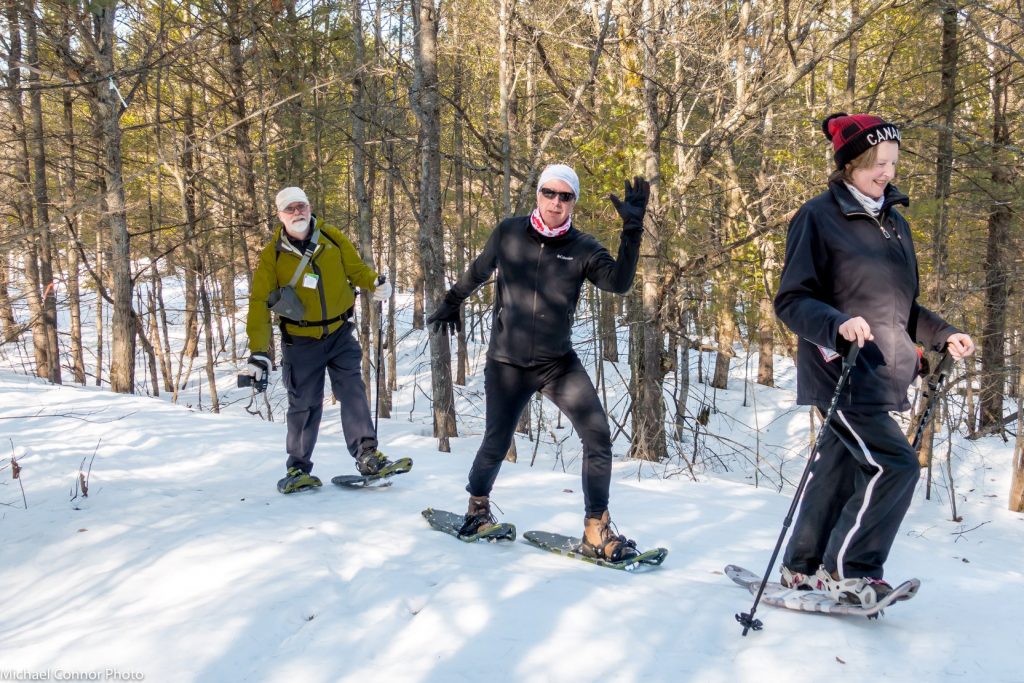
Lots of guided snowshoeing this year! Photo cred: Michael Connor.

See you on the trails!

Gear talk: clothing edition

We’ve talked about equipment; now it’s time to talk clothing. The right clothing will keep you warm and comfortable whether you’re cross-country skiing or snowshoeing.

Cross-country skiers dress a lot like runners. You create a lot of heat when you ski, so you actually don’t need a ton of clothing. Do not dress like an alpine skier! The key is warm, breathable layers of varying thicknesses that wick away moisture. You can combine these layers depending on the temperature. Merino wool or synthetics are best; do not wear cotton, as it will retain moisture and make you cold.

Suggested items for skiers, from head to toe:

  • Toques. Keep that head warm!
  • Buffs/neck warmers for cold days (buffs can also be transformed into hats).
  • Sunglasses.
  • Top layers of varying thicknesses (it’s good have a thin layer, a mid layer, and a heavy layer that you can mix and match as the temperature dictates).
  • A jacket that can cut the wind. There are cross-country specific jackets of varying weights. It’s good to have one light weight jacket for spring, and a heavier jacket for winter. These are a good investment!  
  • Pants. Winter running tights or cross-country specific pants (both will often have wind resistant front panels) will work just fine. Do not wear jeans! Bulky snow pants will be too warm.
  • Add long underwear for really cold days. Again, wool or synthetics.
  • Wool socks. Thinner socks for warmer days, thicker socks for colder days. I love my knee-length merino wool ski socks!
  • Gloves. A thin pair for warm days, thicker pair for cold days. For really cold days, mitts are more effective.
  • Sunscreen and lip balm.

Rule of thumb: You should be chilly before you start. If you are already warm, you will overheat when you are moving.

The principles are the same for snowshoers, but because you are moving at a less intense pace, you may need thicker layers, a heavier jacket, and you may want to wear snow pants (or layer with long underwear).

Remember that bodies are different, so it will take some experimentation to figure out what works for you in different conditions. Just remember the main principles – technical layers (no cotton!), wind resistant outer layers, and cover those sensitive extremities (face, ears, hands, toes) when the mercury really drops!

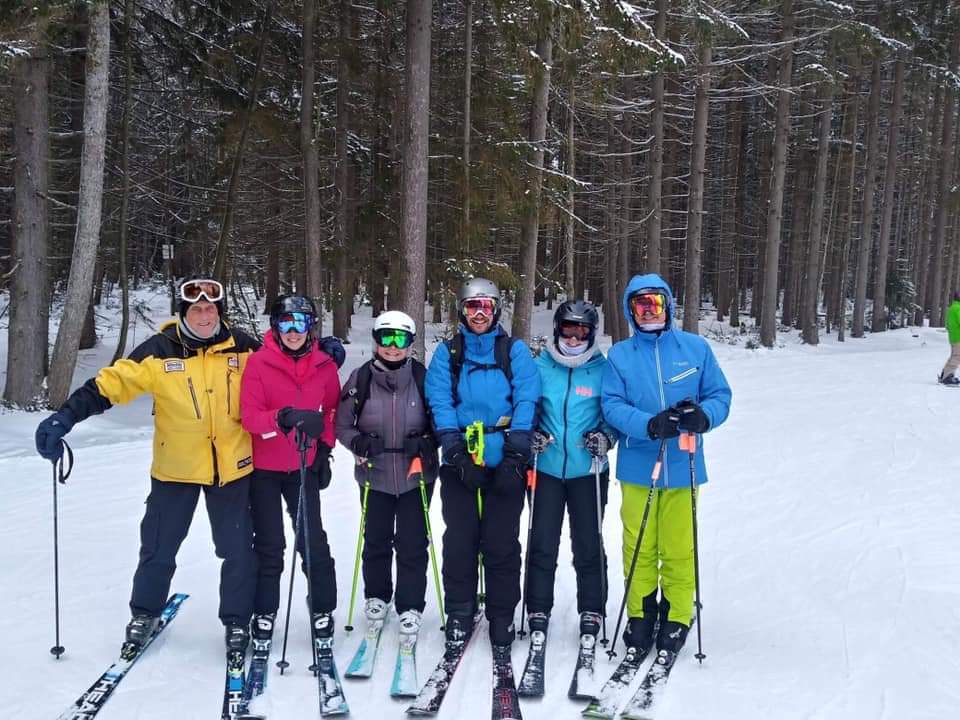
(The above demonstrates why layers are key…you can ski in -30 in January or +12 in April!)

Come Test Us Out!! – Experience a HPSC Ski Day for Yourself! Test Drive Day – December 7th @MSLM

Have you wanted to learn to ski or snowboard?  Or get back into the sport?  Or don’t have anyone to go with?  Or just don’t want to drive all the way up to the resort yourself.  You are who HPSC is made for.  Come test us out!!

On December 7th we want to welcome all potential members (and of course members) who would like to find out what an HPSC downhill day is like.  This is the first of our two annual Test Drive days which means registration is open to one and all.

In addition to a discounted group lift ticket, as on all of our daytrips, all who register (including non-members) can participate in our free lessons by our CSIA qualified ski instructors.

Continue reading “Come Test Us Out!! – Experience a HPSC Ski Day for Yourself! Test Drive Day – December 7th @MSLM”

Are you getting excited yet?? Just a month until the first scheduled day trip

As the days get colder we skiers and boarders get more and more excited.  The daytrips team has been working hard over the summer and fall to plan an interesting season of skiing and boarding for all of our members. 

Things kick off on Saturday December 7th with our first Test Drive day of the season to Mount St. Louis Moonstone.  Make sure you have a spot on the first ski trip of the year!  The Test Drive is open to non-members.  Registration is now open.

Continue reading “Are you getting excited yet?? Just a month until the first scheduled day trip”

Gear talk: Wait, what? I need to wax waxless skis?

Congrats, you just bought waxless classic skis! But wait. Yes, we need to talk about waxing.

Traditionally, classic skis needed to have two types of wax applied – grip wax and glide wax. Grip wax is applied to a pocket underneath the foot (the size of which is dependent on the skier). When the skier puts their weight on their foot, the wax grips the snow and the skier can push off the ski and glide on the other foot. You need to apply the correct temperature of grip wax for the snow temperature otherwise you will not get good grip. There are a wide array of temperatures that are colour-coded (red and purple are warmer waxes and blue and green are colder waxes – and there are a bunch of variations within). Hardwood and Highlands conditions page will tell you what they think the “wax of the day” is. There could be more than one as conditions change through the day.

The other part of the equation – glide wax – is applied above and below the grip wax zone (the “tips and tails” of the ski). This wax helps you to glide faster. There are different types of glide wax. The more traditional one comes in hard blocks of wax that are melted onto the ski, ironed in, and then the excess is scraped off. Racer will use this method as it is considered the most effective. Like grip wax, racers will glide wax every time according to the conditions of the day. Glide wax also comes in a variety of temperatures from warm to cold to match the snow temperature.

However, we are not racers and we don’t need to make it so complicated! Plus, we don’t all have the facilities to “hot wax”. Read on fellow recreational skiers for some glide wax guidance.

If you have waxless skis, you do not need grip wax. You achieve grip on the snow with a scale pattern etched in the base of the skis or, a more recent innovation, skins (a strip of mohair/nylon that is applied to the grip zone). This is where the term ‘waxless’ comes from – because there is no grip wax used.

BUT, you still should use glide wax to achieve a good glide.

You can hot wax your skis yourself if you have the right space and want to invest in all wax tools (or you can use the wax hut at the resort and waste…ahem, spend…ski time waxing). Then you can fine tune your skis to the conditions of the day. Or, if the resorts offer waxing services you can ask them to do it (but then you won’t have your skis for a while). Also remember that whatever wax they put on will be good for the conditions of that day – and that may not work the next time you go out.

The other option is liquid glide waxes. These come in a broad temperature ranges (so you won’t have to own so many bottles). You apply these every time you go out to ski. It’s very easy – you dab the liquid on the ski and spread it around. Then let it dry. Then buff it in with a nylon brush. And off you go. Liquid waxes are very good these days. Swix and Vauhti are the most common glide waxes.

I will often get my skis hot waxed at Highlands a couple times/season (to help keep my bases healthy), but I use liquid glide wax every time I go out.

Waxless skis have taken much of the waxing mystery out of skiing. Is it a blue day? Violet? Red? I don’t know! If you don’t want to deal with grip wax in the highly changeable conditions we find ourselves in Southern Ontario (and really, who does?), waxless skis are a great option. But use glide wax on the tips and tails and you might find yourself gliding along a bit faster.

Updated 2023

Gear talk: snowshoe edition

Snowshoeing is a wonderful way to enjoy winter in the woods! Photo: Michael Connor

At HPSC, we also snowshoe. Snowshoeing is less complicated than skiing in terms of gear. Basically, you need snowshoes and a good pair of winter boots. While the basic idea of snowshoeing has remained the same (create more surface area to spread out your weight so you don’t sink in the snow), snowshoe technology is much different now than in the days of the wooden shoes. They are now made of lighter materials, such as aluminum (and we’re sure carbon fibre ones probably exist!) or plastic (durable and inexpensive, but will not have as much flex), they have various binding systems, and features like crampons to help you up icy slopes.

Like skis, the snowshoes you want will depend on the type of snowshoeing you plan to do. Are you going to be on well-packed terrain? Deep snow? Flat terrain? Hilly? Are you going to be doing something crazy like running in them? Snowshoes will have different features appropriate to different terrain.

To size them, you need to figure out the weight the snowshoes will be supporting (i.e. you + all your gear). For HPSC daytrips, the weight won’t be much more than your body weight, but if you are headed out on a backcountry trip fully loaded with camping gear, you are going to be much heavier. Snow conditions also play a role; for well packed snow, you can get by with a smaller surface area. But don’t get too caught up in this; any snowshoes will work, they just might not be the most effective for the conditions of the day. Get something that will work for the majority of snowshoeing you will do.

When you are ready to buy, bring the winter boots you plan on wearing and try on shoes. Different binding systems will feel more or less comfortable.

There are also accessories to consider such as heel lifts if you are going to be doing a lot of climbing, or tail extensions to give you more surface area if you need it. Many also snowshoe with poles, especially if you are in hilly terrain. Gaiters are also useful to prevent deep snow from getting inside your boots (speaking from experience…wet socks aren’t fun!).

You can see the use of snowshoes, poles, and gaiters! Photo: Michael Connor

For more information on snowshoes, check out this handy guide from MEC: https://www.mec.ca/en/explore/how-to-choose-snowshoes

Stay tuned for articles in November on waxing and clothing.

Downhill Day Trips

Management of Daytrips for 2019-20 Season

As you may be aware, Erika Clark, the Director of Downhill Day Trips, resigned in late August.  In the meantime we have been searching for a new Director to take over the portfolio.  In late September, long-time member Justin Graham agreed to take over the logistics and management of Downhill daytrips for the upcoming season.  However, for personal reasons, he has chosen not to be the Director.  His title is Assistant Director of Day Trips.  Christine Bellerose, the Director of Ski School has agreed to also represent Day Trips on the HPSC Board of Directors. 

Erika is not going away but needed to step away from the Board to concentrate on her new job.  You will still see her on the bus, and she has agreed to help out where and when she can.  We would like to sincerely thank Erika for her fantastic leadership of Day Trips, and her extensive contribution to the club, over the last year and a half.  Good luck Erika and see you on the slopes!

Downhill Day Trips Schedule

The downhill day trips schedule is now finalized and is currently available as a downloadable PDF on the website under Our Trips – Downhill day trips – Downhill day trips registration.  You need to be logged in to the site. https://hpsc.ca/resources/Documents/Day%20Trips/Downhill_Day_Trip_Schedule_2019-20.pdf

We are working on adding all of the trips to the calendar but wanted to make sure that you have the schedule to start planning out your ski season.   The first trips will be open for registration by early November.   

Our first scheduled day trip is the annual Test Drive day to Mount St. Louis on Saturday December 7. 

As we have in the past few seasons, most Saturdays we are scheduled to go to Mount St. Louis; Sundays and Mondays to Blue Mountain; and Wednesdays to the variety of private clubs in the Collingwood area.  We have also added in a few new resorts – Mansfield Ski Club and Caledon Ski Club in Ontario; and Holiday Valley in New York.   

Some highlights for the upcoming season:

  • December 7 – First scheduled day trip and first Test Drive Day to Mount St. Louis.
  • December 30 – A special Holiday Week trip to a location the club has not gone to in a very long time – Mansfield Ski Club. 
  • January 11 – Member Appreciation Day and Double Double lesson day at Mount St. Louis.  This is a Member Only trip.
  • February 15 – Special Family Day Weekend day trip to Holiday Valley NY. Note this the only daytrip we will be running over the Family Day weekend.  This is a Member Only trip.
  • February 29 – Test Drive #2 at Mount St. Louis
  • March 21 – Sleep in Saturday.  We will also be going to a new resort for weekend skiers – Caledon Ski Club. 
  • Numerous Pizza days throughout the season at Mount St. Louis and Blue Mountain.
  • Almost every day trip is a Bring a Friend trip – please see the schedule for Bring a Friend trips.

New Pick Up Location Approved by the Board – Liberty Village

We are happy to announce that the HPSC Board of Directors has approved the addition of a new Downhill Day Trips pick up location. 

When we have enough registrants for a second bus, we will now be using a new pick up in the Liberty Village area to accommodate the growing number of members in that part of the city.  The pick-up location will be to the west of Lamport Stadium on Fraser Avenue.  This will be the second pickup after Queens Quay. 

For those using public transit, the King streetcar goes right past, and the Dufferin bus is just a couple of blocks away.  The Exhibition GO station is also within walking distance. For those who drive, there is a Green P paid parking lot on the south side of Lamport Stadium. 

NOTE – This location will only be listed and used (along with Queens Quay) when we have added a second bus to a trip after we have filled the first bus and have sufficient members on the wait list to justify a second bus.  

Information on all of our pick-up locations is located on the website:  https://hpsc.ca/Day-Trip-Pick-Up-Locations