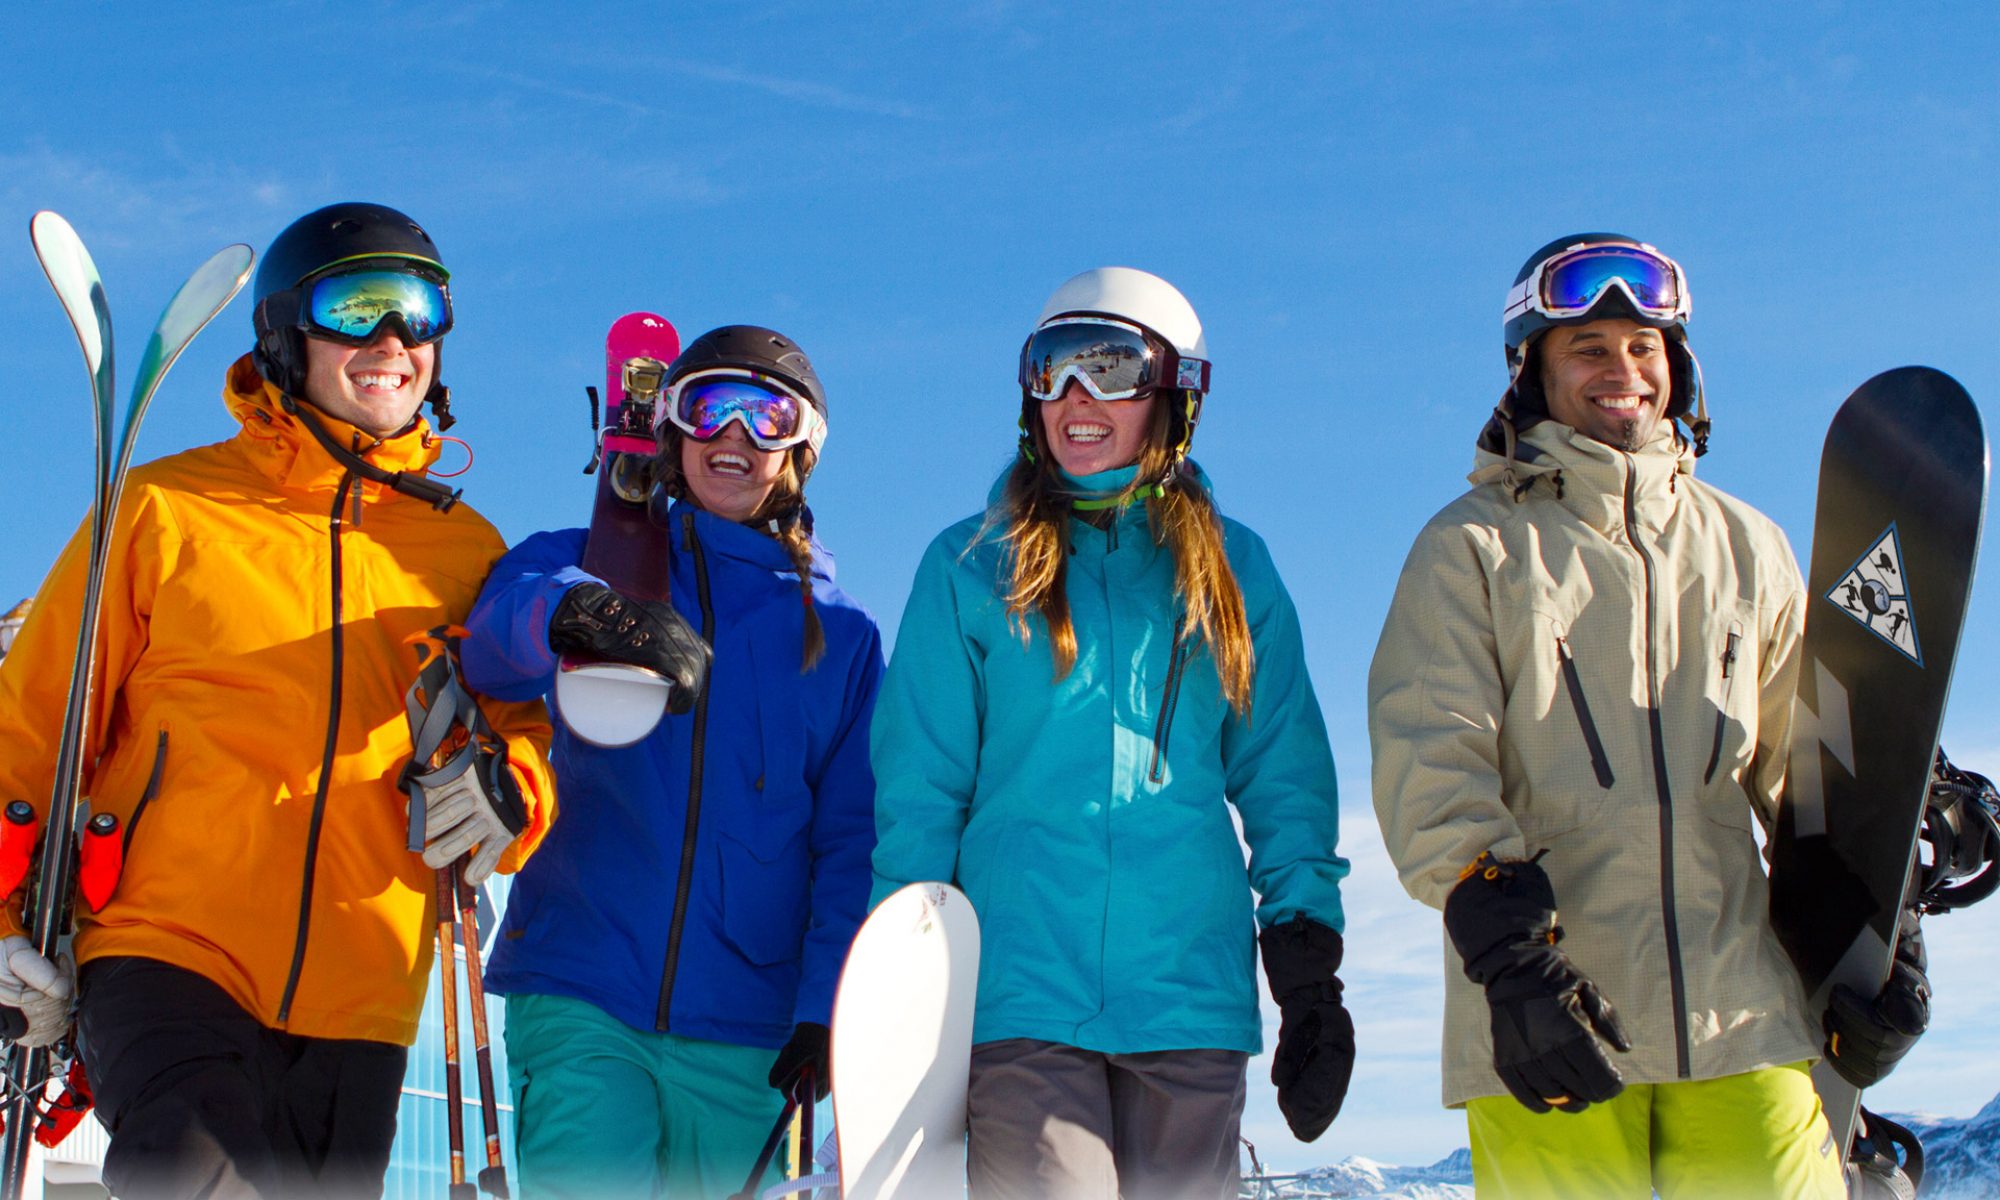
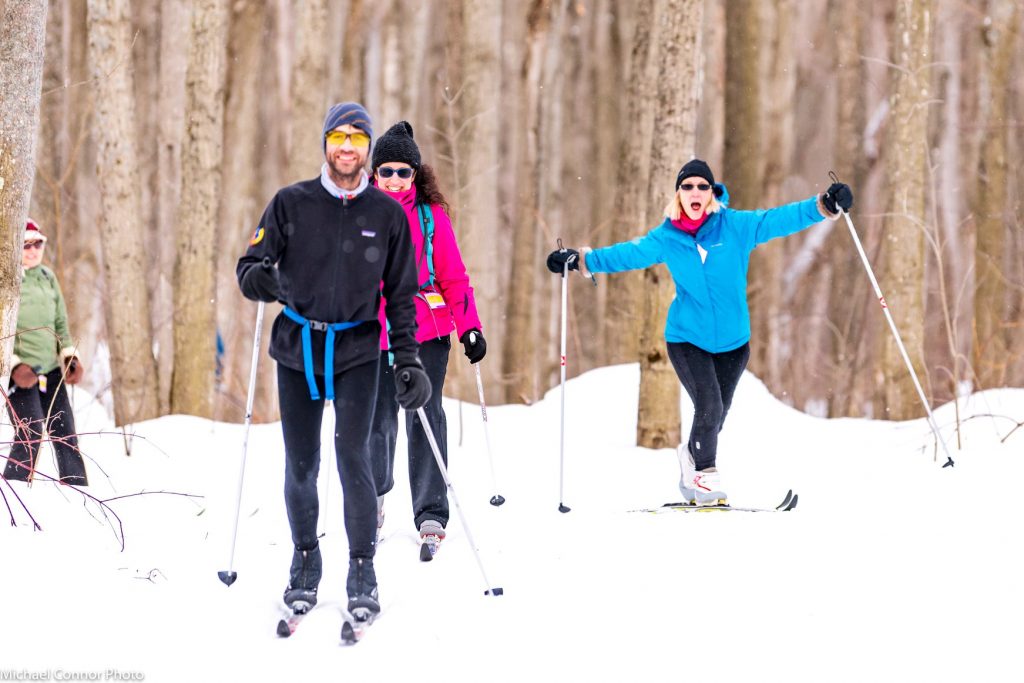
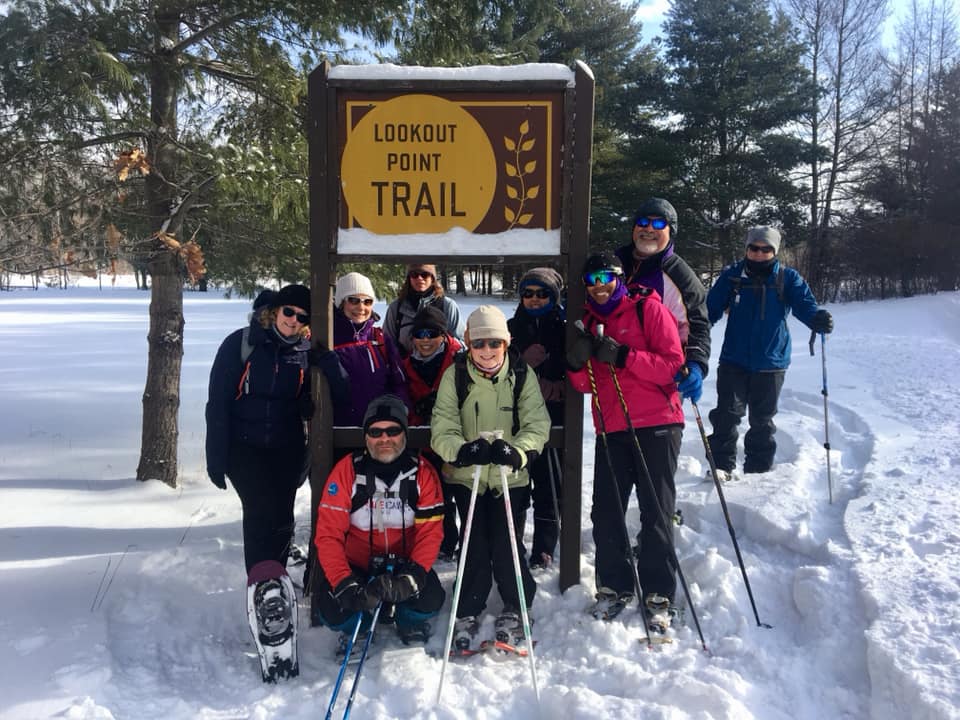
With the growth in our membership, our trips are extremely popular and have been selling out early – even earlier than last year!
We are using wait lists this year. This accomplishes two things:
There are often cancellations up to Wednesday 8pm before the trip. If someone cancels, the first first person on the waitlist will be moved onto the trip to fill the spot. There are often many cancellations and many members get on trips this way.
This allows the Director to evaluate if there is enough interest to pay for a second bus. If yes, we’ll add it! Usually a decision on a second bus is made early in the week before the trip, or earlier if enough people are on the wait list.
How does the wait list work?
Click “join wait list” on the registration page.
Fill out all your information. You will not be charged for the trip at this time.
You will receive a confirmation email that outlines what happens when you are offered a spot.
When you are moved onto the trip, you will be sent a registration pending payment email stating that you have 24 hours to pay or you will be deleted. You do not have a seat until you pay! Given the popularity of our trips, we are strict about the 24 hour time frame.
Log in to your account at hpsc.ca and pay the invoice. Welcome to the trip!
IMPORTANT: On Thursday morning before the trip, all payment pending registrations as well as the wait list will be deleted. Any open spots will be available on a first come, first serve basis.
If you are on the wait list, be sure to pay right away to avoid disappointment. We thank our members for their cooperation; this system we feel is both fair to members and minimizes the work of our wonderful volunteers.
See you on the trails!
Pay right away if you want to be on fun day trips!
Our members know how well our club is run. They see it on every day trip. That’s because we have awesome volunteers dedicated to making sure our trips go on without a hitch!
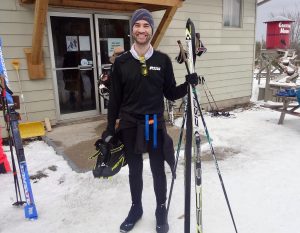
You’ll find bus captain Paul on duty on Sundays.
We’re seeing big growth in our cross-country community, and we have so many members keen to ski every weekend that we’re able to send two bus trips more often. This is amazing, but with two bus trips, we need two bus captains on a trip.
We have a dedicated group of bus captains, but we could use a few more to help spread out the work.
Bus captains act as the group leader of a trip. Responsibilities include:
Taking attendance on the bus and noting changes in people’s registrations
Making announcements on the bus
Ensuring that everyone who came up comes back
Buying and distributing the trail passes
Completing trip paperwork and submitting to the auditor
Being “on call” during the day – if members need help, do your best to provide it (within reason)
To be a bus captains requires only a few things from you:
Bus captain Andrew bought skate ski gear last year!
Access to a computer with internet and an ability to open Word and Excel documents
Time before the trip to organize the paperwork that is sent to you (you should be able to print off a number of documents)
Ideally a cell phone (although we can work around this)
A friendly attitude!
A willingness to pay for the trail passes on a credit card (which will be reimbursed to you after the trip)
Bus captain Anna is always a friendly face on the trails!
We value our volunteers and, as a thank you, bus captains receive complimentary bus and trail fees on the trip they are working.
If you are interested, please let us know at crosscountry@hpsc.ca. Don’t worry – we will provide you with training materials and have you shadow an experienced bus captain before you do a solo trip.
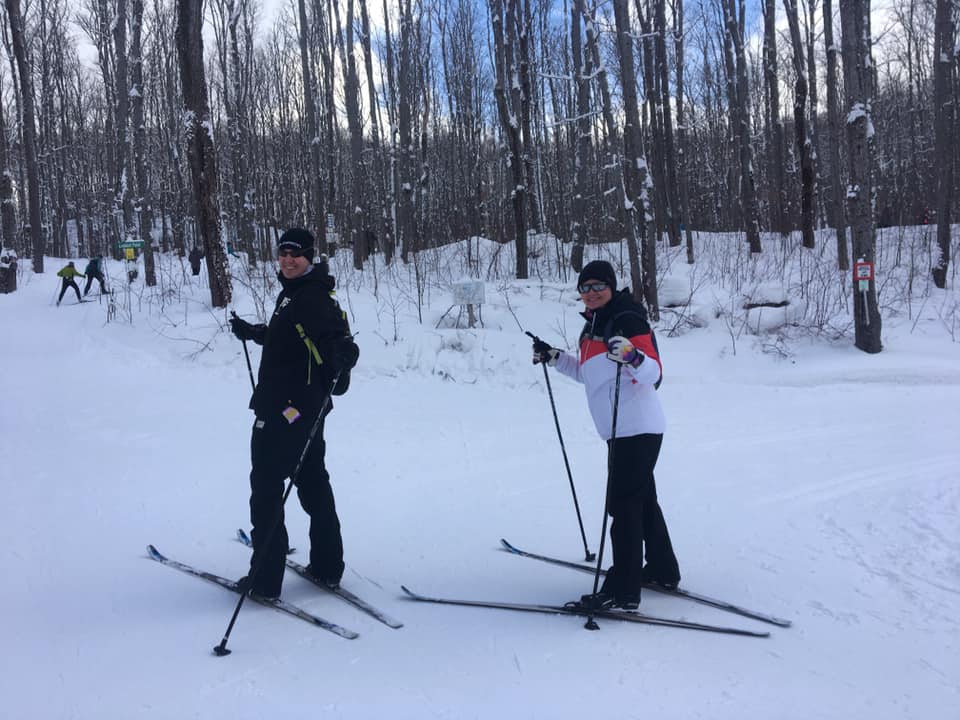
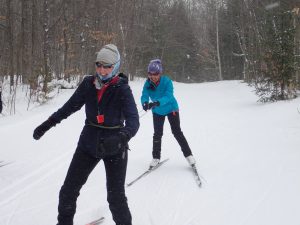
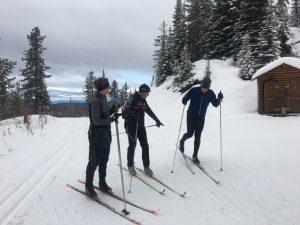
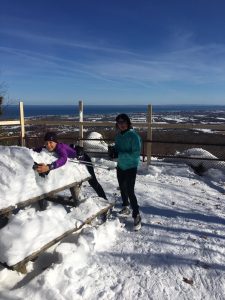
HPSC’s marketing and communications directors – both downhill skiers – tried their hand at cross-country last year! Photo cred: Heather Steel
It’s our annual tradition of introducing downhillers to the pain and joy of a sport that gives you an actual work out 😉 It’s Crossover Day!
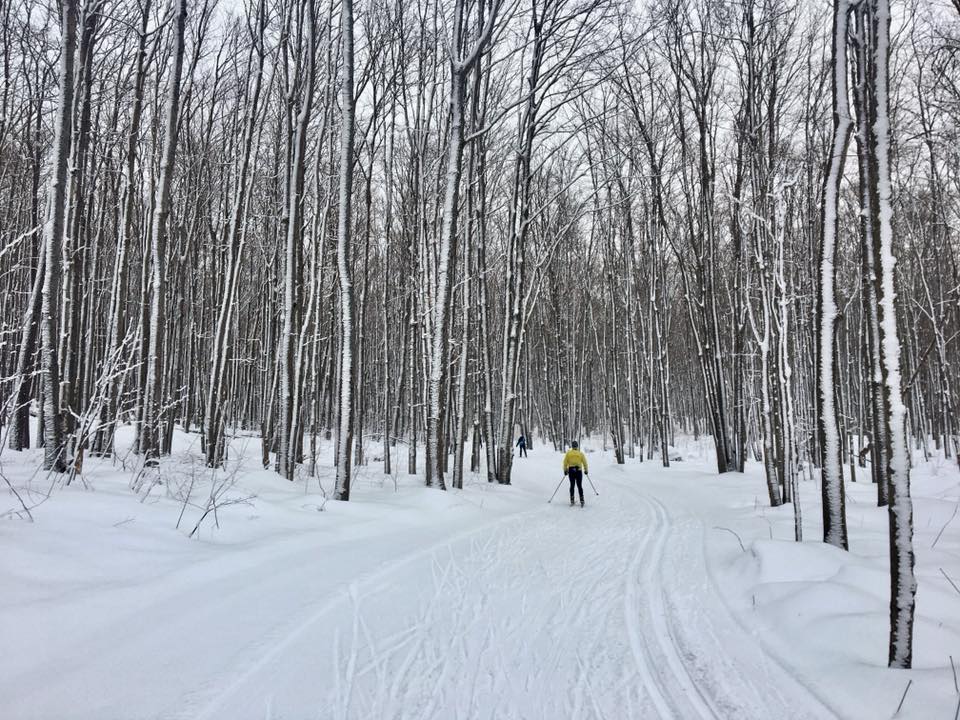
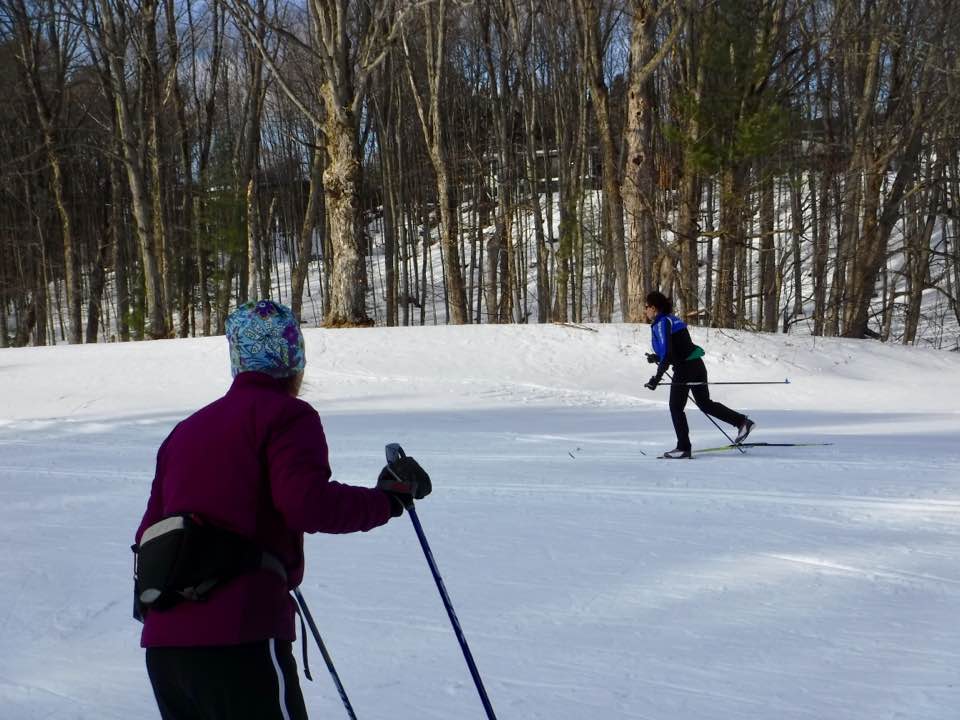
Late return means beautiful light at the end of the day! This is why we ski! Photo cred: Heather Steel
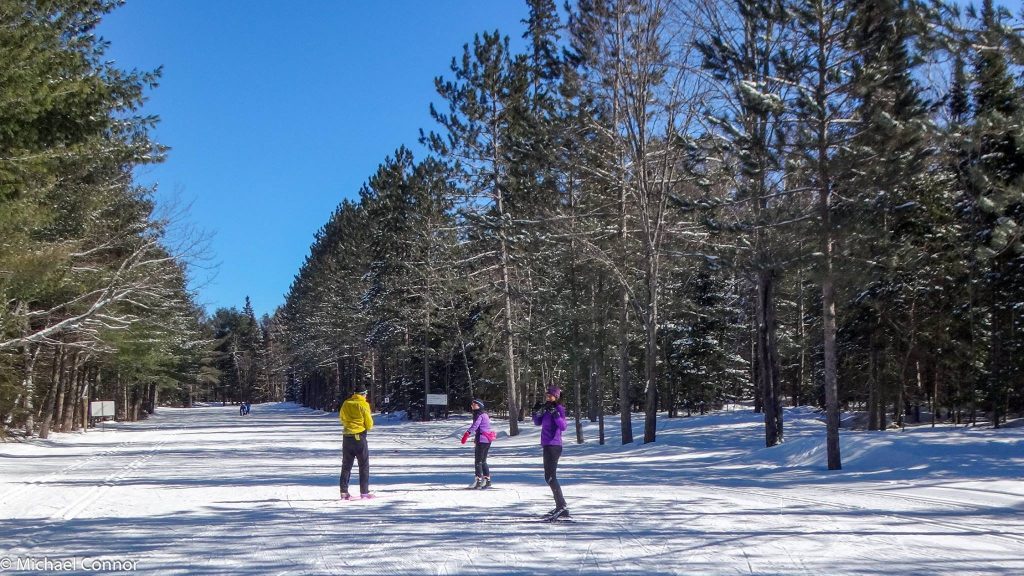
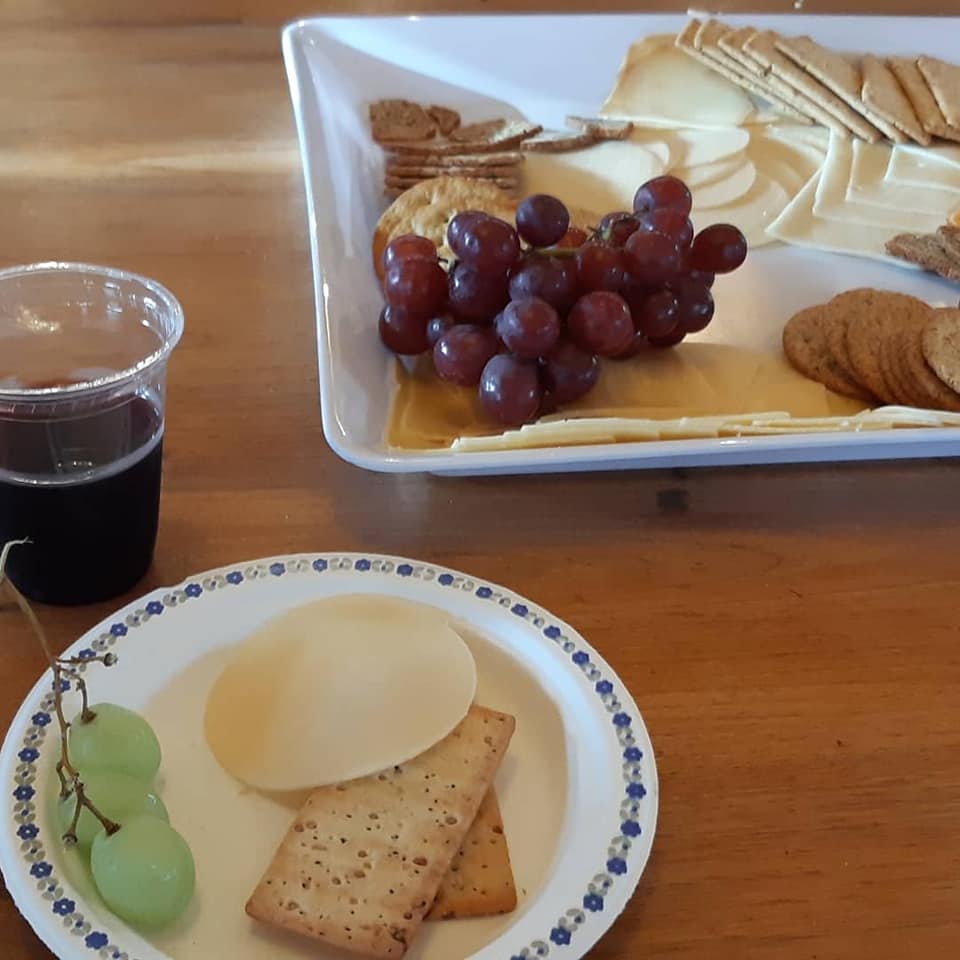
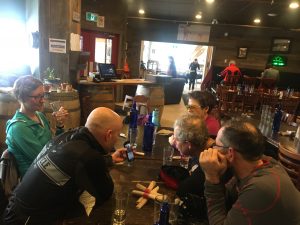
We head to Scenic Caves where we’ll have plenty of opportunities for beginner lessons, guided snowshoeing, and a lovely wine and cheese party at the end of the day in the log cabin.
Scenic Caves is located in Collingwood and has a lovely set of ski and snowshoe trails along the escarpment. Beautiful views of Georgian Bay await, and take the opportunity to walk to the impressive Suspension Bridge!
Don’t miss it! While the trip is full, we’re hoping to make this a two bus party. Get yourself on the waitlist. If there’s enough people and conditions are good, we’ll send you all up!
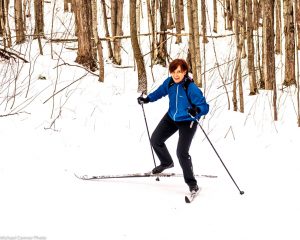
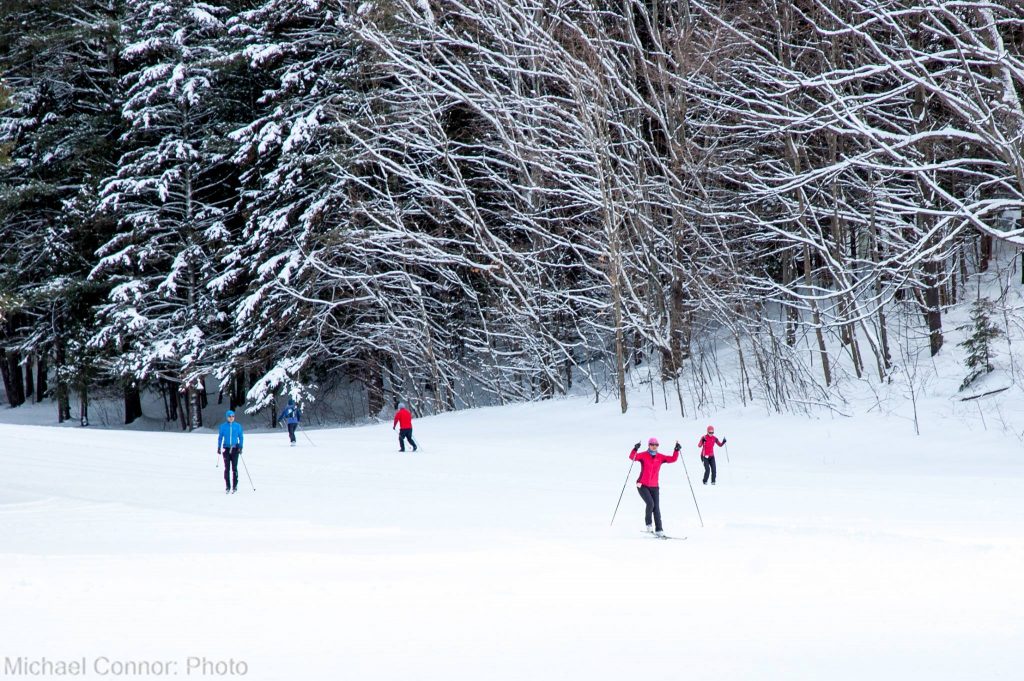
Skiing with friends at Scenic Caves! Photo cred: Michael Connor
Interested in cross-country skiing or snowshoeing but don’t know where to start? Heard of our club but not sure it’s right for you? Just in time, we’ve got two opportunities for you to try us out!
Cross-country has two “test drive” trips coming up Jan. 5 (Scenic Caves) and Jan. 11 (Horseshoe Valley). For these trips, non-members can register for the website and give our club a try before they commit to becoming a member.
We might be biased, but we think our club is pretty awesome. We have more cross-country day trips than any other club based in the GTA (every Saturday and Sunday). We’ve got five pickup locations throughout the city (High Park, Davenport/Yonge, Eglington/Yonge, York Mills/Yonge, and Hwys 400/7). Our ski school has 22 certified instructors, meaning you can get quality lessons on every day trip. And we’ve got a busload of friendly people to travel and ski with every weekend. What’s not to love?
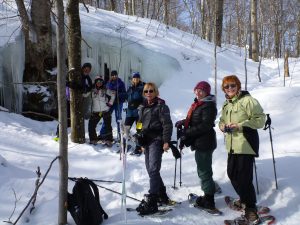
Guided snowshoeing at Scenic Caves last year. Photo cred: Michael Connor.
Jan. 5 we’re headed to Scenic Caves. This is one of the best ski and snowshoe destinations in Southern Ontario. There’s a variety of ski and snowshoe trails at varying levels of difficulty and beautiful views of Georgian Bay! We also have a lovely log cabin to hang out in when we’re not skiing or snowshoeing. There is guided snowshoeing offered on this trip.
Jan. 11 we’re headed somewhere a bit closer, Horseshoe Valley. Horseshoe has a lovely chalet and an extensive ski and snowshoe system through the Copeland Forest. It has a great teaching area if you’re taking lessons with us. There is guided snowshoeing offered on this trip.
You can choose to mope around for months complaining about the cold, or you can join us and learn to love winter! There’s nothing better than skiing or snowshoeing through quiet forests with all the trees covered in snow. If you try us out, we’re sure you’ll love it too.
To join us Jan. 5 at Scenic Caves, register here. To join us Jan. 11 at Horseshoe Valley, register here. You will pay for the bus ($30), group rate on rentals if necessary (prices vary by resort), and the group rate on the trail pass (prices vary by resort). Indicate if you would like to take lessons, as well as your preferred pick up location. Then show up at a pick up location on the day! (Note: it doesn’t have to be the one you indicated during registration). If the trip is full by the time you register, join the waitlist. There are always cancellations and we may add a second bus if there is enough interest.
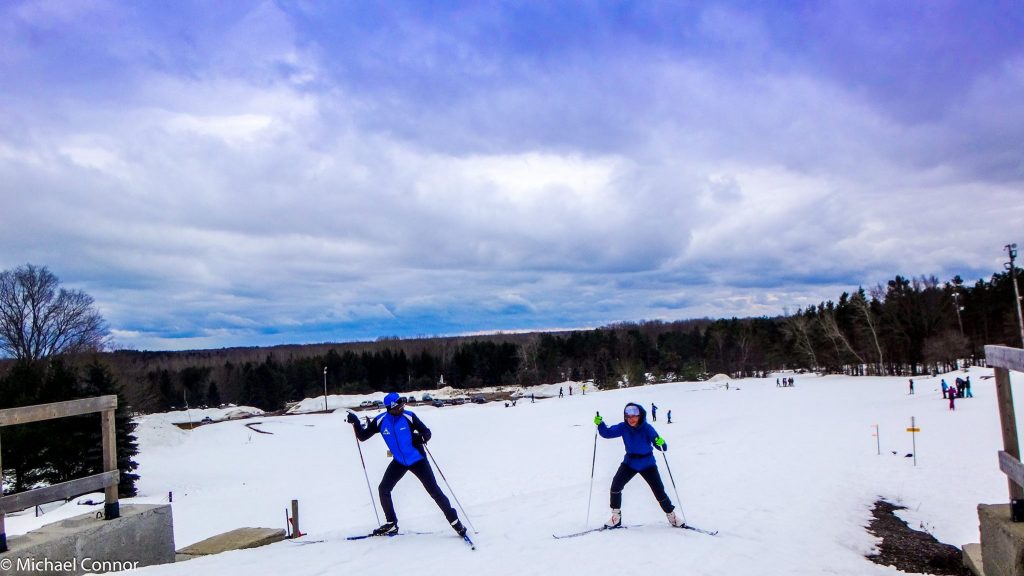
Club members practicing on the teaching grid at Horseshoe Valley. Photo cred: Michael Connor.
Please visit hpsc.ca to learn about the club. If you have questions, please see the XC FAQ page. This blog has a lot of great information for new members – like what to expect on a daytrip, what to wear, and lessons, If you still have questions, email crosscountry@hpsc.ca.
Instructor Jean-Emile teaches offset during his Level 2 course at Hardwood. Photo cred: Michael Connor.
Our cross-country ski school is looking for enthusiastic skiers who want to become an instructor. Becoming an instructor involves passing a two-day CANSI Level 1 certification course. Our ski school can help you prepare for the course.
CANSI Level 1 tests skiers on diagonal stride, double poling, freeskate, one-skate, and wedge turns, as well as the ability to teach these techniques. Don’t be intimidated – it’s a Level 1 course, which means you do not have to be an Olympic level skier! You simply need to meet the “standard” and be able to teach the techniques to beginners. Our instructors can evaluate you to see if you meet the standard and what to work on to meet the standard. We can also arrange for you to shadow experienced instructors to get teaching experience. You can pass the course in classic only, or both classic and skate.
There is a Level 1 course scheduled for Southern Ontario on Jan. 18 and 19. If you aren’t ready for that, you can spend the season preparing and do the course the following year (or, when you are ready!).
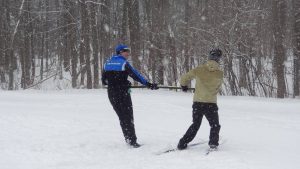
Become an instructor, and you too can make your students pull each other with ropes. Photo cred: Michael Li.
Becoming an instructor is a wonderful way to pass on your love of skiing to new skiers and members, and there is nothing like teaching others to improve your own ski skills. One of our newer instructors, Yiuyin, says “…when I told the High Park ski school that I would like to improve my skills and be an instructor, the instructors not only helped me improve my sills, but also invited me for different training [events] in Ontario and BC. I finally got my Level 1 certification last season and have enjoyed teaching.”
Heather, our cross-country director, became an instructor in 2018 and says “the process of becoming an instructor really improved my own skiing, especially skate skiing. I had support from the more experienced instructors in the club and I spent a lot of time practicing (especially one-skate!). The course itself was a lot of fun and I enjoy helping beginners become a little more efficient on the trails, which hopefully helps them have more fun.”
We aim to help our members become instructors at minimal personal cost. Certification courses are fully covered over a period of three years (provided you teach with us over those three years). Instructors are reimbursed a certain amount for each lesson, and they get complimentary day trip fees on the trips they teach.
If interested, please contact xcskischool@hpsc.ca and we’ll connect you with our instructor development director.
HPSC’s 2018 Level 1 grad class! Photo cred: Heather Steel
First day on skis for many of the group! Here we are at the top of the mountain all smiles in the snow. Photo cred: Heather Steel
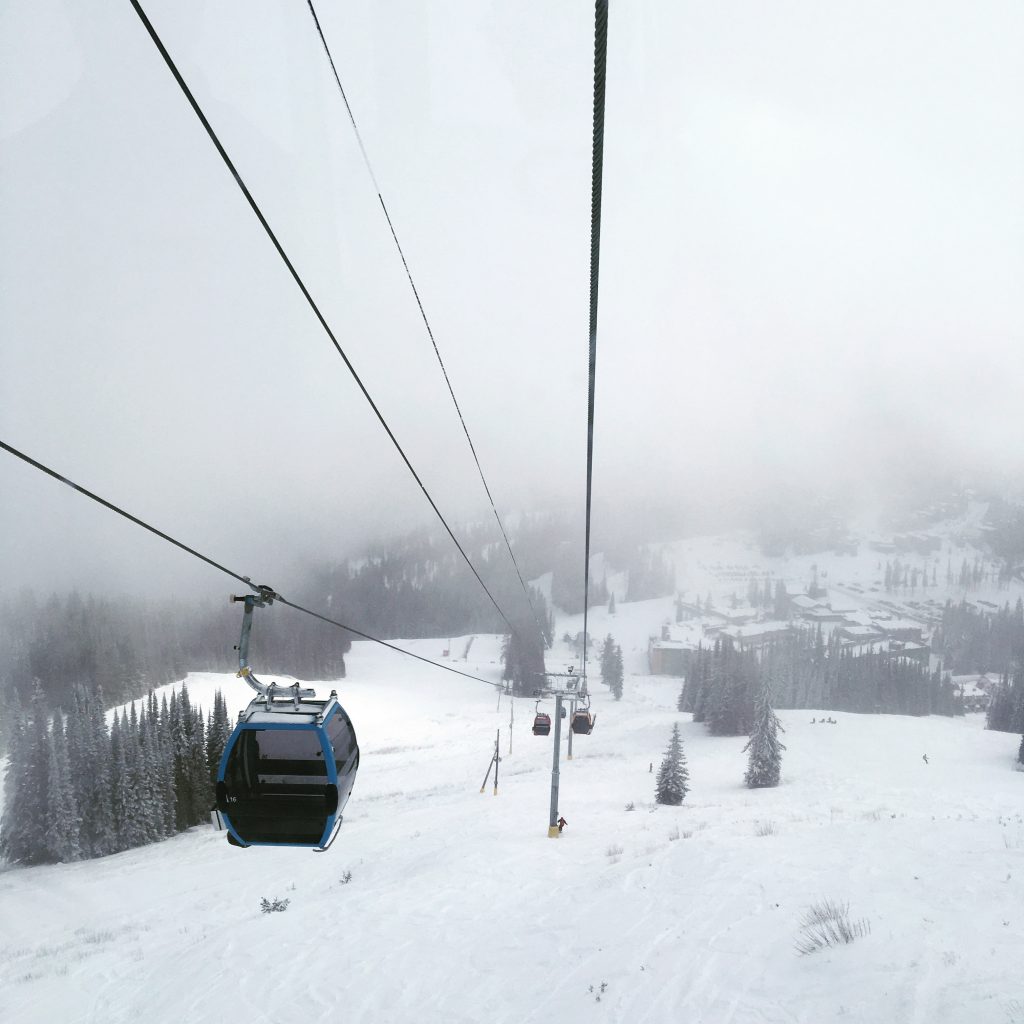
Amazing early season snow, a huge trail system, mountain views, and top level coaches makes SilverStar’s XC Supercamps an unforgettable experience.
Break time after skiing to the sun at the top of the mountain! Photo cred: Heather Steel
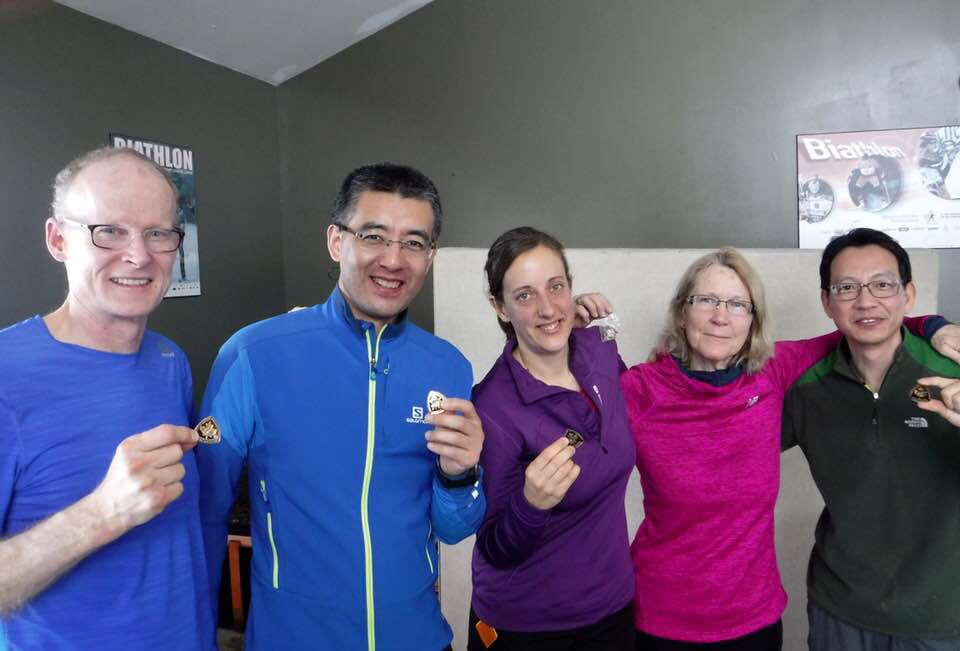
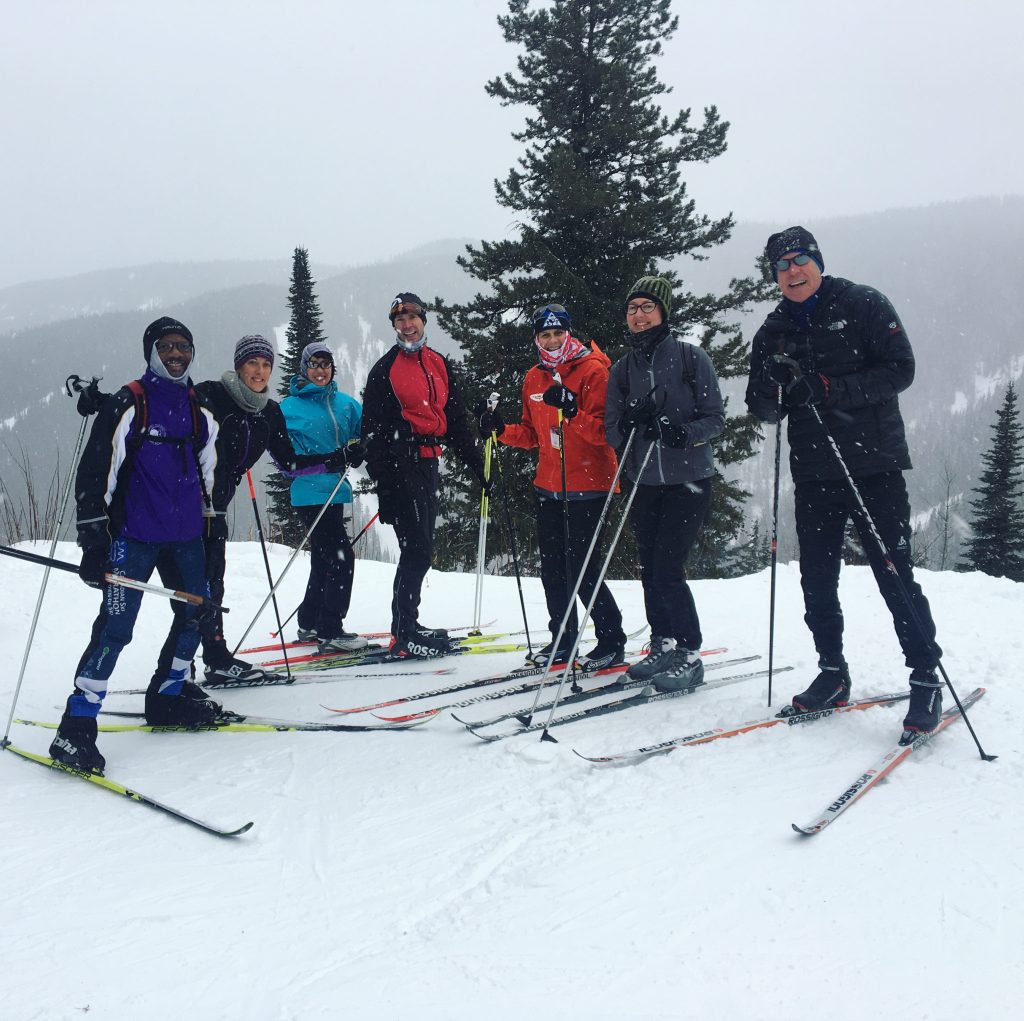
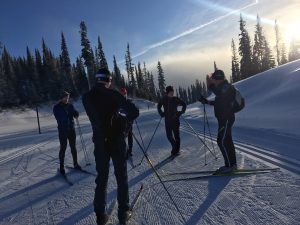
This year, a group of HPSC members – including a number of instructors – got a kick start to their season from Nov. 30-Dec. 8. We participated in the week-long camp, from all-classic beginner to intermediate and advanced combo and advanced all-skate. A couple members even tried their hand at biathlon (the real deal…guns not frisbees!). There is something for everyone here.
Getting pointers from our coach on the trail. Photo cred: Heather Steel
Supercamp places you in small groups depending on your skill level, fitness, and goals. You are led by an experienced instructor (lots of level 4 instructors out in these parts!). Generally instruction takes place in the morning, followed by a hearty lunch, and then ski time with your group in the afternoon. The combo groups do two days classic, two days skate, and one day the choice of the group. They shuttle participants on two days to Sovereign Lake Nordic Club, which has a teaching stadium and beautiful trails. On the final day, we did a fun photo scavenger hunt to close out the week!
The video doesn’t lie! Photo cred: Heather Steel
Being with the same instructor for five days does wonders to improve your technique in a short time, and gives you lots to work on when you go back home and ski through the season. We highly recommend the camps if you want to become a more efficient skier and have a lot of fun doing it.
One of the best parts about SilverStar is taking the gondola up to the top of the mountain! It’s a rare treat for XC skiers to get a ride up! Photo cred: Heather Steel
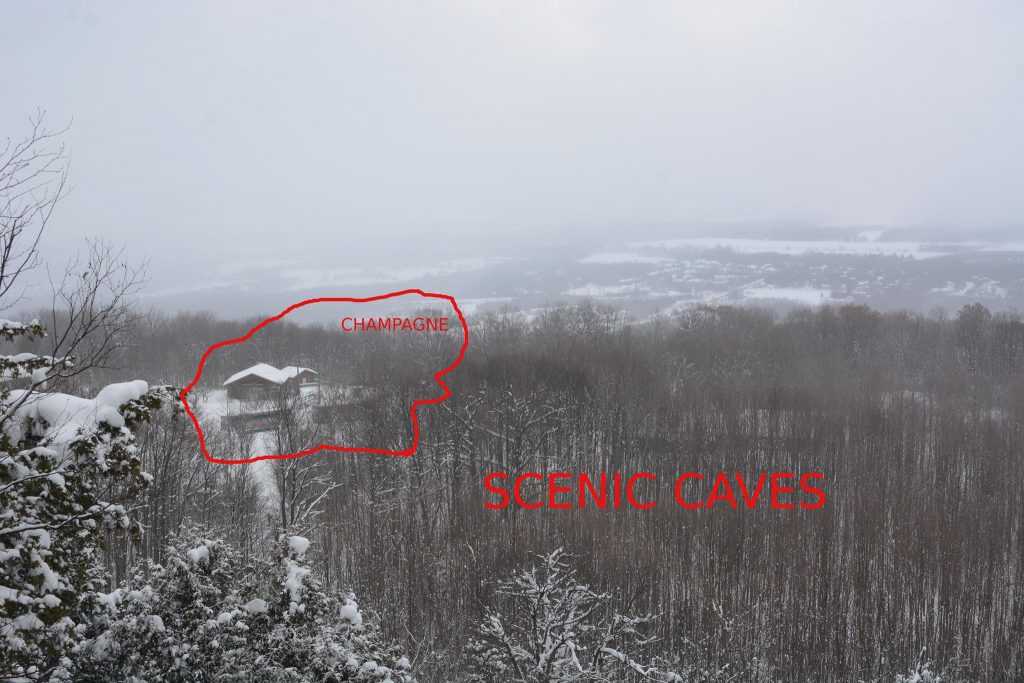
Just in case you get lost on the way to champagne, we’ve created this handy map for you! Photo cred: Howard Gibson
While we are running 4 combo trips before Christmas, our first official XC-only trip is Dec. 28 at Scenic Caves. This is our annual New Year’s Eve Celebration, with bubbly in the log cabin at the end of the day.
Look at that view!
Scenic Caves has 27km of trail for classic and skate skiers and 10km of trail for snowshoers. There are trails from beginner to advanced. At the top of the escarpment, you’ll be rewarded with a lovely view of Georgian Bay and Collingwood, and there is a lovely log cabin to enjoy a hot chocolate with friends.
For snowshoers, you can walk to the famous Suspension Bridge, the longest in Ontario! On a clear day, according to Scenic Caves, you can see 10, 000 square kilometers.
This trip offers guided snowshoeing and regular lessons.
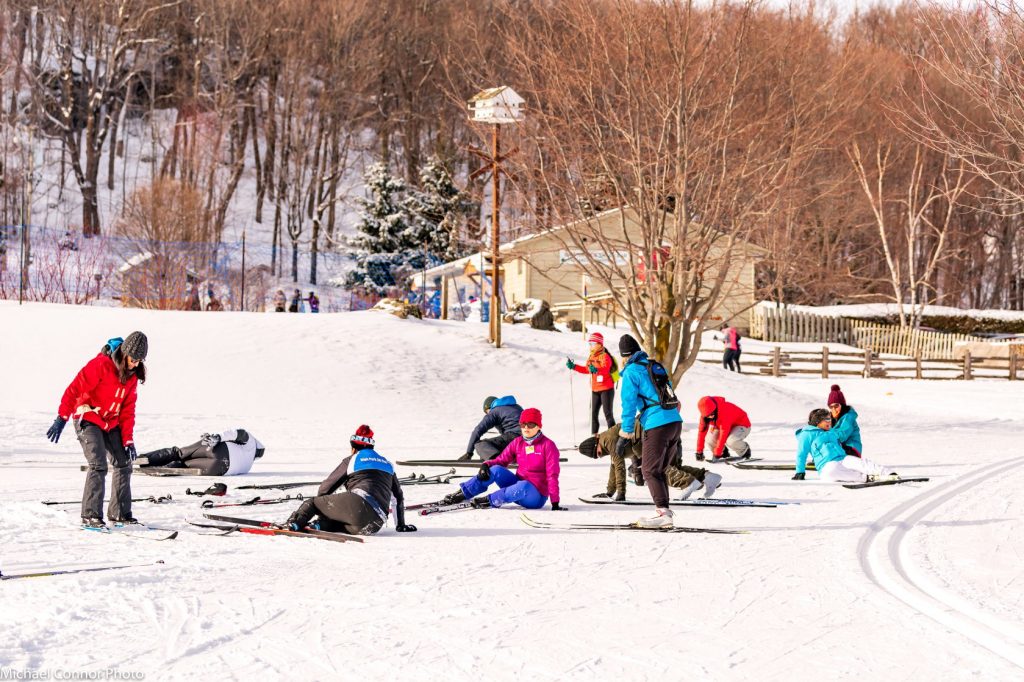
Classic 1/Skate 1: First lesson – learn how to get up after falling! Photo cred: Michael Connor
HPSC offers a wide array of lessons from our roster of
qualified instructors. Taking lessons is a great way to learn the sport, refine
your technique so you can explore more efficiently, and meet other skiers at
your skill level.
Based on feedback from last season, the ski school has redesigned our lesson levels. We hope this will help students land in the right class so their skiing can progress more effectively. We have split classic and skate lessons into five levels. Below is a brief outline of each level to help you assess where you should be.
Classic 1/Skate 1:
I am brand new to skiing or have only been on skis once or twice.
I feel uncomfortable on skis – my balance is very unsteady. I fall often.
I don’t even want to think about hills!
Classic 2/Skate 2:
I have been on skis before, but still feel
uncomfortable or unsteady at times.
I don’t think I understand the basic techniques.
I can’t glide with all my weight on one ski.
I attempt to get down gentle hills, but I’m
still very hesitant.
I feel comfortable moving on beginner trails and
may go on some intermediate trails.
I understand the basic techniques, but my skiing
feels choppy and, while sometimes I manage it, it is hard to glide with all my
weight on one ski.
I can get myself up and down moderate hills.
Classic 4/Skate 4:
I think my skiing is fluid and efficient much of
the time.
I can confidently glide with all my weight on
one ski some of the time.
I feel comfortable on intermediate trails, and
capable of advanced trails.
I can get myself up and down most hills,
although still hesitant on the steep ones.
Classic lesson on the trails! Photo cred: Michael Connor
Classic 5/Skate 5:
I think my skiing is fluid and efficient most of
the time.
I can glide with all my weight on one ski most
of the time.
I am comfortable on all the trails and cool with
most hills I encounter on advanced trails.
I think I’m ready to learn more advanced techniques
How do I know what
level to put myself in?
With the above descriptions in mind, do your best to
estimate where you should be. Feel free to talk to the head instructor on the
bus when they go around confirming lessons. They are happy to provide advice.
Once an instructor sees you on skis, they may decide its
best to put you in a different group. Don’t worry about being moved up or down.
Placing students in the appropriate group is essential for a safe and fun
learning experience for everyone. Worry less about the level and focus on skill
development. We also may, due to instructor availability, combine lesson
levels. But the instructor will be able to give tailored activities to each
level. We appreciate your cooperation.
When can I move up
levels?
Instructors are looking for particular markers at each
level. At the end of each lesson, the instructor should provide feedback on
specific things to work on. They will indicate if you should register for the
same level or move up next time. If they don’t, please ask them.
Why did the lesson levels change?
Based on feedback from students and our experience teaching
lessons we felt that the old levels (e.g. Beginner, Bronze, Silver) were
unclear. Furthermore, we wanted to provide more opportunity for students to
progress in their development. We’ve reworked lessons into a clearer set of
levels, with better definitions for what each level means. This should allow
you to be better able to get a lesson at your current skill level which
maximizes your ability to learn and progress in your skiing.
Should I take lessons
every trip?
The answer to this question is completely personal. We offer
lessons on every trip. Some people like taking one every trip. Others like to
take a lesson, go off on their own and practice for a couple weeks, and then
come back to a lesson. Everyone learns differently. Do what’s right and, most
importantly, most fun for you.
Our instructors take CANSI training every year. Photo cred: Heather Steel.
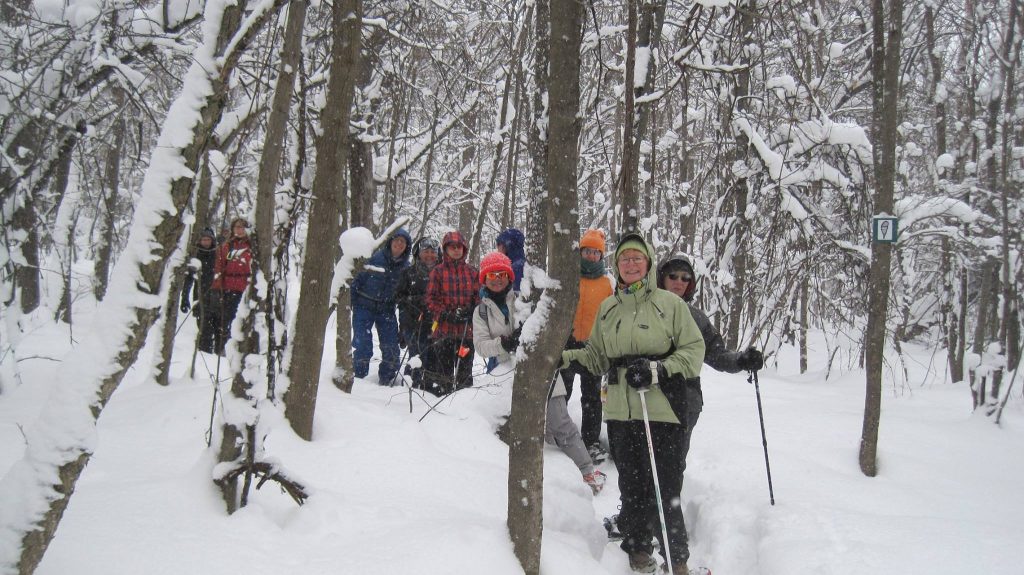
Breaking trail with snowshoes in Killbear Provincial Park. Photo cred: Heather Steel
HPSC’s snowshoeing program has grown in the last few years. There are many reasons to choose snowshoeing – it’s a less intense physical activity than skiing, but still a good workout; you really get in the forest and up close and personal with nature; and it’s a fun social activity. Best of all it gets you outside and moving in the winter! We have many members who both snowshoe and ski.
While you can certainly snowshoe on your own, it’s definitely more fun in a group. And beginners who are unfamiliar with the trails definitely feel more comfortable being led by someone more experienced. If you’ve been snowshoeing with the club for a few years now, please consider becoming a snowshoe leader!
The snowshoe crew at Georgian Nordic. Photo cred: Heather Steel
No special training beyond experience snowshoeing with the club is needed (and perhaps the ability to read the resort maps!). If you are going to snowshoe anyway, why not lead a group? The more leaders that we have, the more, and varied, experiences we can offer to club members – we can have groups that go at different paces and do routes of varying difficulty. This is not a big commitment – you can do as many or as few as you want.
We are happy to have new volunteers work with an experienced guide the first time.
Snowshoe leaders are recognized with complimentary bus and trail fees for the trip on which they are guiding.
The club runs on volunteers and more hands mean lighter work for everyone! If you are interested in volunteering, please contact crosscountry@hpsc.ca and we’ll connect you with our head guide and snowshoe coordinator.
Lots of snow for this group at Scenic Caves. Photo cred: Ivy Cheng
HPSC’s fun snowshoe crew at Killbear Provincial Park! Photo cred: Heather Steel
Joining a club trip can be intimidating when you’re new. We’re here to help! If you’re preparing to come out on your first day trip with us, here is how you can expect your day to unfold. Note that times are approximate as they depend on how far the resort is from Toronto. But it gives you the general idea.
745am-845am
Get to your bus stop. You can find out locations here. Pick up times are communicated on the status page (log in to see it) and the email that is sent to all participants on Friday. Arrive 10 minutes early as the pick up times are departure times. Don’t be shy; introduce yourself to the others waiting.
When the bus arrives, stow your skis below the bus and get on with your bag(s) and ski boots.
Choose a seat. You will sit in the same seat on the way back.
845am-1030am
Once all
skiers are on the bus and we are on the highway, the bus captain will make
announcements about the day.
The bus
captain will then come around and check off your name and ensure that you are
registered correctly for the activities you want to do. If not, you may owe
money (to be paid online after the trip) or you may be owed a refund.
The ski school director of the day will come around and confirm lessons. If you didn’t sign up in advance, we will try to fit you in, but we can’t make any guarantees as lessons are popular.
As we approach the resort, the bus captain will make more announcements, confirming the facilities that are available, departure times etc..
1030am-1100am
Upon arrival, the renters get off with a designated instructor and go get their equipment. The bus captain goes inside to get the trail passes. Everyone else remains on the bus. There are a couple exceptions to this; listen to the bus captains’ instructions.
The bus captain returns, and everyone gets off the bus, collects their trail pass from the bus captain and equipment from under the bus, and heads to the chalet.
Find a place inside to put your bags and get ready. Ask other members if you aren’t sure where you can store bags. Sometimes we have our own room, other times we are with the general public. Cross-country resorts are generally very safe; while you should carry valuables with you (i.e., wallet, phone), theft is rare. There are a couple resorts where we need to store our bags on the bus (but generally you can take your stuff inside, get ready, and then bring it back out).
Students and snowshoers meet their instructors/guide in front of the chalet approx. 30 mins after arrival. Not taking lessons? Go ski!
11:00am-1230pm
One of our instructors talking step turns with her intermediate group. Photo cred: Heather Steel.
Lessons, followed by lunch. Most resorts have indoor space to eat; if not, the bus will be available for lunch.
1230pm-4:30pm
Free ski
time!
The bus leaves promptly at 430pm. Be sure you are back to the chalet in enough time to get ready and be on the bus by 425pm.
Put your equipment in the marked return bin (based on where you are getting off the bus), sit in the same seat you were in on the way up, and enjoy the ride home! The bus captain will make announcements about the upcoming weekend.
You can enjoy a hot chocolate stop on the trails with your new friends! Photo cred: Heather Steel
If you are new and have additional questions, see our FAQ.