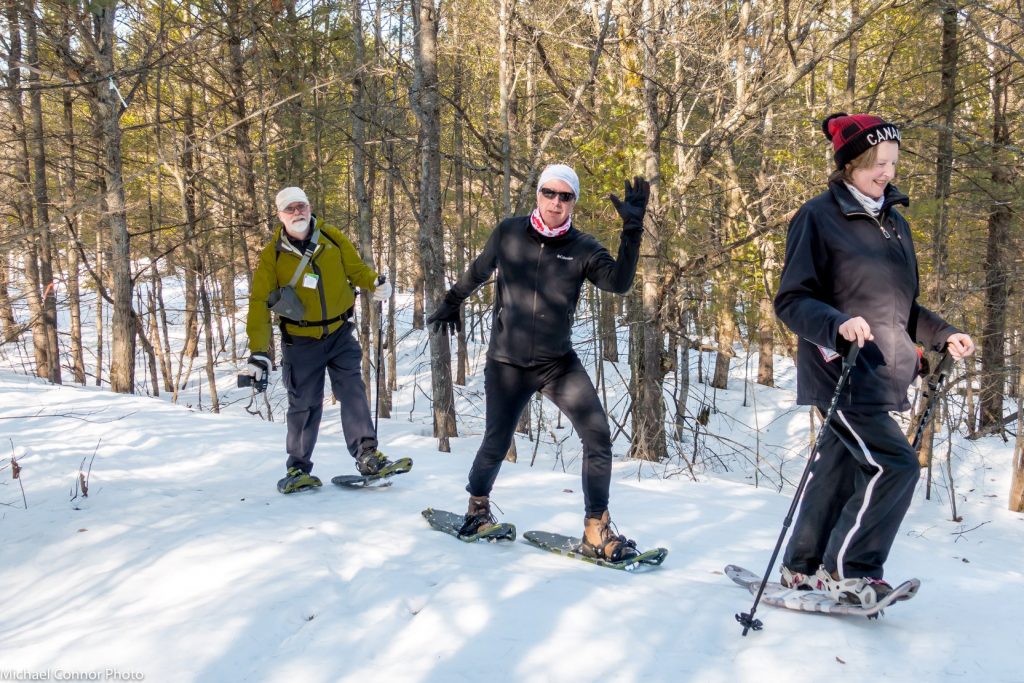
HPSC’s fun snowshoe crew at Killbear Provincial Park! Photo cred: Heather Steel
Joining a club trip can be intimidating when you’re new. We’re here to help! If you’re preparing to come out on your first day trip with us, here is how you can expect your day to unfold. Note that times are approximate as they depend on how far the resort is from Toronto. But it gives you the general idea.
745am-845am
Get to your bus stop. You can find out locations here. Pick up times are communicated on the status page (log in to see it) and the email that is sent to all participants on Friday. Arrive 10 minutes early as the pick up times are departure times. Don’t be shy; introduce yourself to the others waiting.
When the bus arrives, stow your skis below the bus and get on with your bag(s) and ski boots.
Choose a seat. You will sit in the same seat on the way back.
845am-1030am
Once all
skiers are on the bus and we are on the highway, the bus captain will make
announcements about the day.
The bus
captain will then come around and check off your name and ensure that you are
registered correctly for the activities you want to do. If not, you may owe
money (to be paid online after the trip) or you may be owed a refund.
The ski school director of the day will come around and confirm lessons. If you didn’t sign up in advance, we will try to fit you in, but we can’t make any guarantees as lessons are popular.
As we approach the resort, the bus captain will make more announcements, confirming the facilities that are available, departure times etc..
1030am-1100am
Upon arrival, the renters get off with a designated instructor and go get their equipment. The bus captain goes inside to get the trail passes. Everyone else remains on the bus. There are a couple exceptions to this; listen to the bus captains’ instructions.
The bus captain returns, and everyone gets off the bus, collects their trail pass from the bus captain and equipment from under the bus, and heads to the chalet.
Find a place inside to put your bags and get ready. Ask other members if you aren’t sure where you can store bags. Sometimes we have our own room, other times we are with the general public. Cross-country resorts are generally very safe; while you should carry valuables with you (i.e., wallet, phone), theft is rare. There are a couple resorts where we need to store our bags on the bus (but generally you can take your stuff inside, get ready, and then bring it back out).
Students and snowshoers meet their instructors/guide in front of the chalet approx. 30 mins after arrival. Not taking lessons? Go ski!
11:00am-1230pm
One of our instructors talking step turns with her intermediate group. Photo cred: Heather Steel.
Lessons, followed by lunch. Most resorts have indoor space to eat; if not, the bus will be available for lunch.
1230pm-4:30pm
Free ski
time!
The bus leaves promptly at 430pm. Be sure you are back to the chalet in enough time to get ready and be on the bus by 425pm.
Put your equipment in the marked return bin (based on where you are getting off the bus), sit in the same seat you were in on the way up, and enjoy the ride home! The bus captain will make announcements about the upcoming weekend.
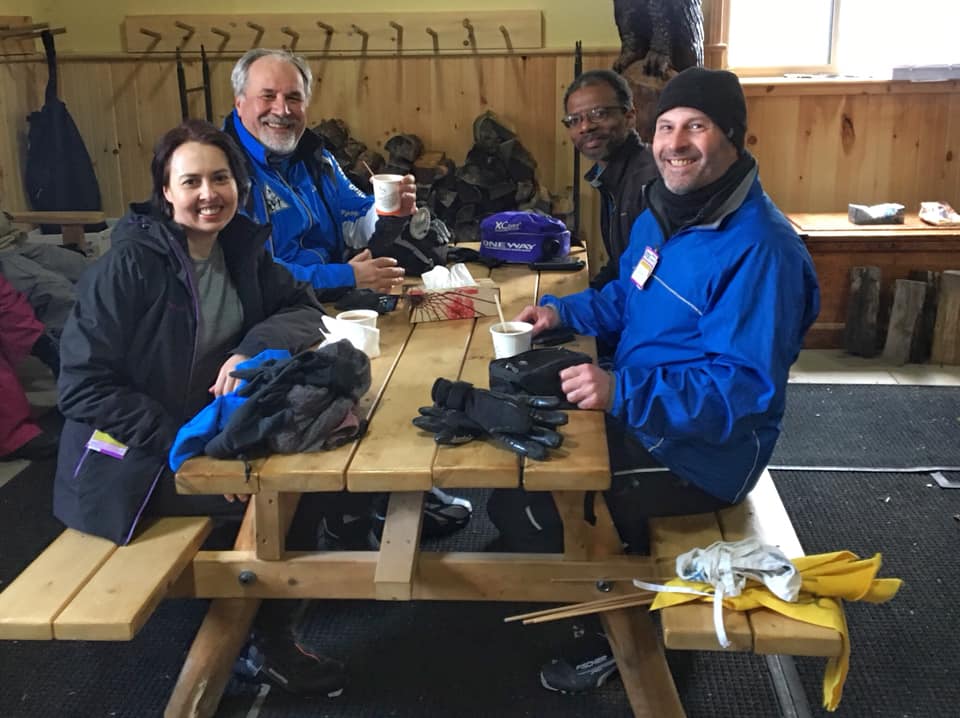
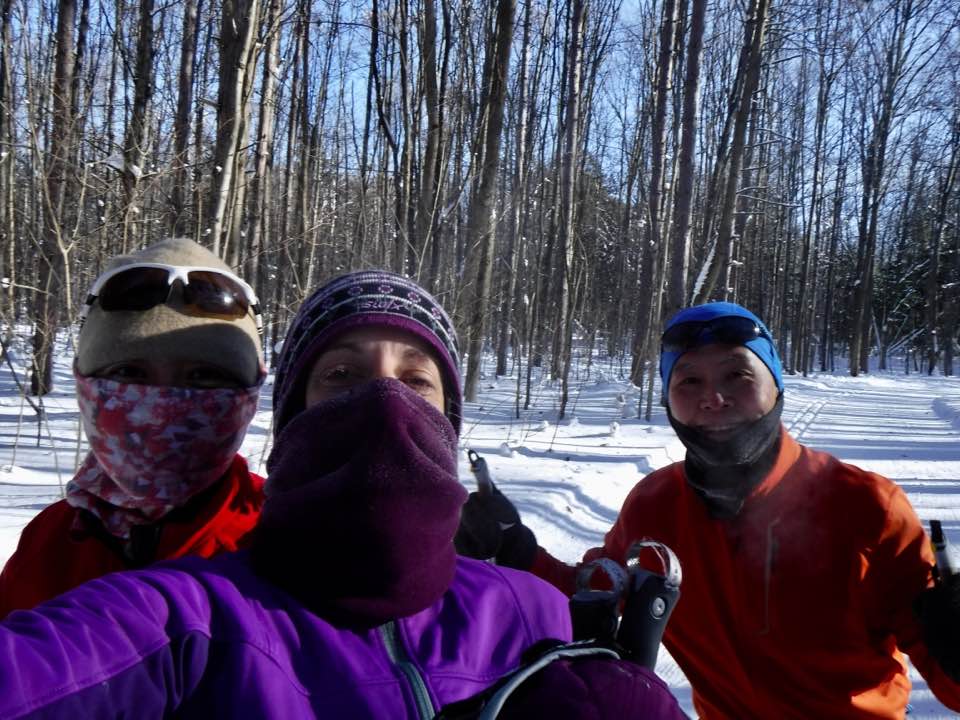
You can enjoy a hot chocolate stop on the trails with your new friends! Photo cred: Heather Steel
If you are new and have additional questions, see our FAQ.
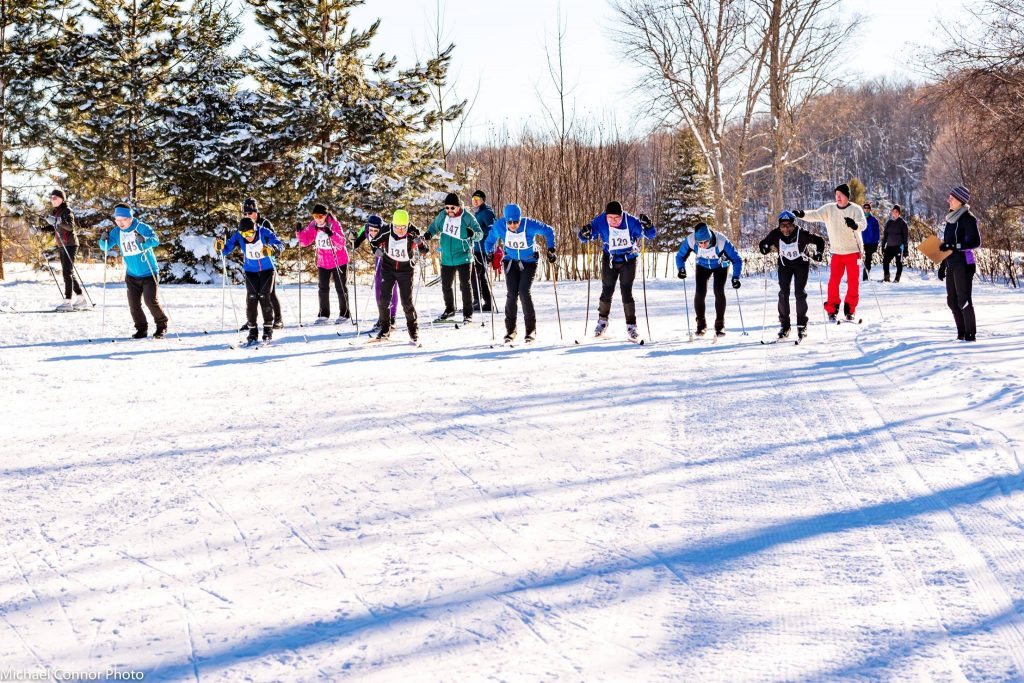
Join this fun group for more racing fun this season! Photo cred: Michael Connor.
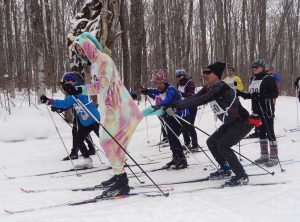
Get ready for yet another year of fun cross-country ski races! Our race program may have been competitive in the past, but now it’s all about fun. Test your skills with a group of your closest ski friends and maybe win a prize in the process. Bonus: prizes are by draw, not by finishing time! We encourage wide participation, but you should be able to move around the trail for at least a few kms (even if it’s not particularly fast!).
Look out for these events throughout the season…
Practice your frisbee throwing now! Photo cred: Heather Steel
Race #1: Fourth Annual Frisbee Biathlon! Probably our most popular race of the season, we kick off the race program with our frisbee biathlon at Highlands Nordic on Jan. 4. The race director creates team of two. One person skis a very short sprint track, then you play frisbee! If you drop the frisbee, you have to do a penalty lap before your partner can ski. Fast skiing doesn’t matter…it’s all in the frisbee throwing.
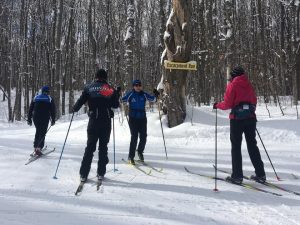
Race #2: Return to
Hardwood (Freestyle). On Jan. 12, we will have our first race at Hardwood
since the devastating fire they had a couple years ago. Let’s celebrate our
return with a freestyle race. Choose classic or skate and test yourself on a
relatively short course (4kmish).
Race #3: Fourth Annual Pine Trail Classic at Wasaga. Your race director’s favourite race, this 3kmish classic race starts and ends at the fire shelter and takes you along the rolling hills of the beautiful Pine trail. Classic skiing only. Will this be the year no one gets lost? Probably not. January 18.
Race #4: Crossover
Day Scavenger Hunt Race! On Jan. 25, join us for a fun team-based scavenger
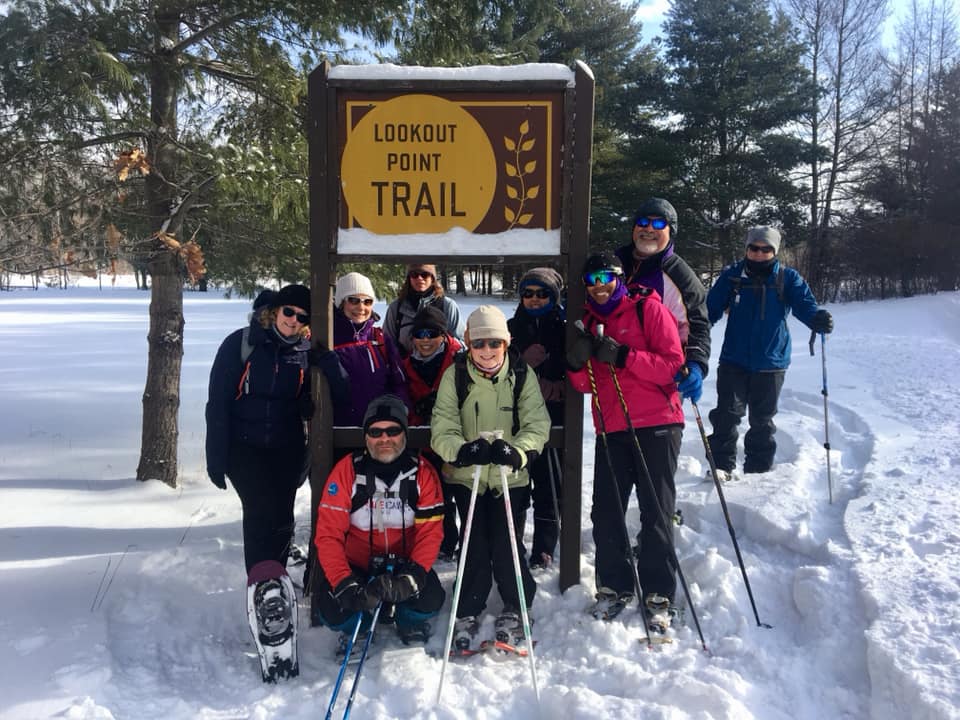
hunt race on the upper trails (the section with the lookout etc.). Solve clues
along the way to find your way to the finish. Smarts and map skills probably
outweigh fast skiing!
The inspiration for our new spring fling costume race. Bring it! Photo cred: Heather Steel
Race #5: First Annual Beginner/Advanced Spring Fling Costume Race. We close out the season on Mar. 8 at Horseshoe where we will do our annual beginner/advanced day (choose your own adventure – one course is shorter and flatter, the other longer and hillier) but with an added costume element! Celebrate spring in style and get bonus points if you ski in costume. Extra bonus points for the best costume!
There are often random bonus points given for ridiculous reasons and if you participate in one of these events, you will get an invite to our fun end of year party!
Beautiful conditions in mid-November at Scenic Caves! Photo cred: Heather Steel
A couple of your HPSC instructors were treated to a wonderful day of skiing Nov. 16 at Scenic Caves…earliest start date ever, and it was like mid-January conditions! We hope this bodes well for a very snowy winter.
If you want to ski before Christmas, we’ve got four chances for you to get out on the trails!
We’re running our early December trips with our downhill friends. We’ve got trips on Dec. 14/15 and Dec. 21/22. Dec. 14/15 will be run on the XC pick up schedule, and Dec. 21/22 will be run on the downhill schedule (so earlier than normal but worth it to ski!).
We have XC modules up for informational purposes, but you will register for the trips on the downhill modules. Read the XC module information so you know how to register properly. Once you get over to the downhill module, check “none” under lift ticket and “XC ski $30” under bus options.
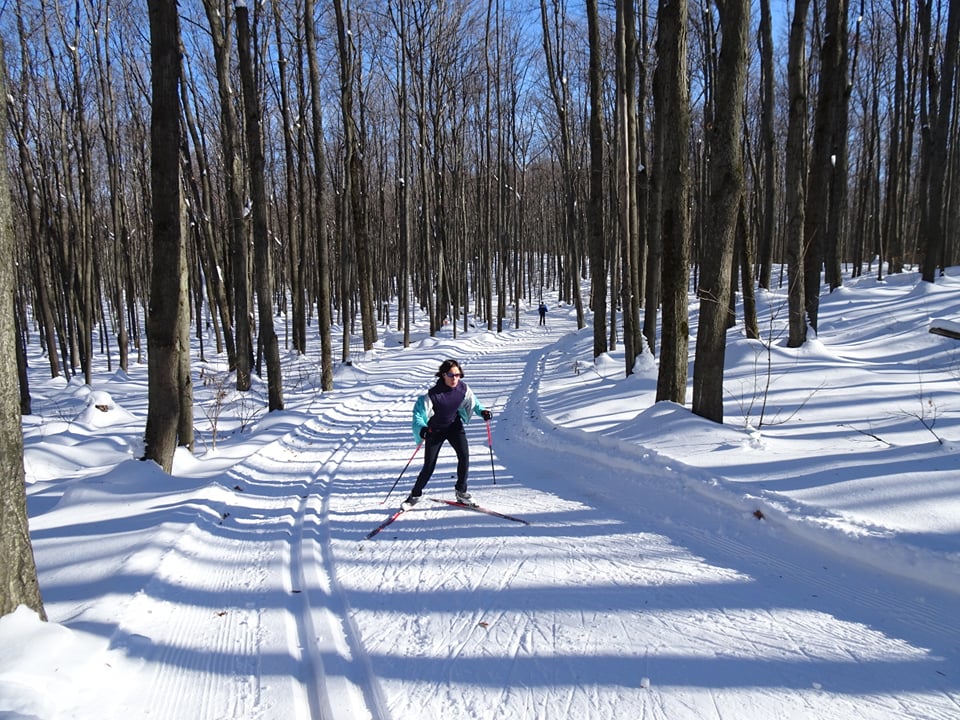
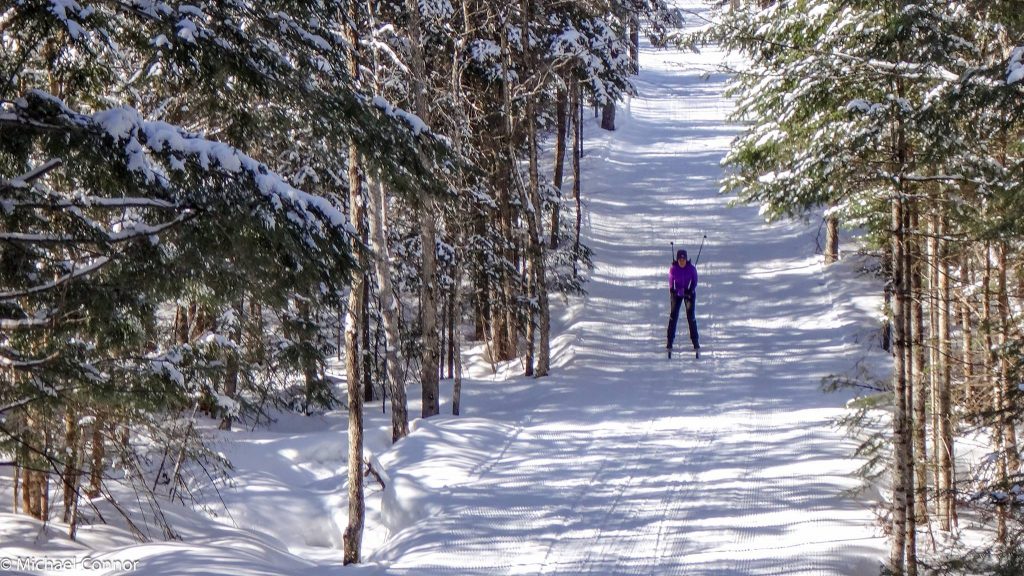
This could be you flying down a hill at Arrowhead Provincial Park. Check out our schedule to find when we’re going there! Photo cred: Michael Connor.
The snow is flying in Toronto and up north, and you can now view the full cross-country schedule, with all of our fun programming, on the website.
The early December trips are combo trips with downhill and are open for registration. The Dec. 28 and early January trips will be available for registration the first week of December.
Here are some highlights of our season…
December 28th – our annual New Year’s Eve Celebration with bubbly and snacks after skiing.
Test drives on Jan. 5 & Jan. 11. Get your friends to try out our amazing club! They can register through the website without buying a membership.
Test your skills and have some fun in our race series! We open with our annual Frisbee Biathlon on Jan. 4 at Highlands and end with our new Beginner/Advanced Spring Fling Costume Race on Mar. 8 at Horseshoe Valley.
Crossover Day is Jan. 25! We welcome our downhill friends and celebrate XC skiing and snowshoeing with a scavenger race and wine and cheese.
Explore the backcountry at Kolapore with our experienced guides on Feb. 8.
Have a tasty dinner with your friends after a day of skiing with our dinner trip to Amiche on Feb. 29.
Two trips to a NEW to us resort – Kawartha! Join us Jan. 26 and Mar. 14.
Guided snowshoeing on Dec. 28, Jan. 5, Jan. 11, Jan. 18, Feb. 2, Feb. 8, Feb. 22, Feb. 29, Mar. 7, Mar. 14, and Mar. 21.
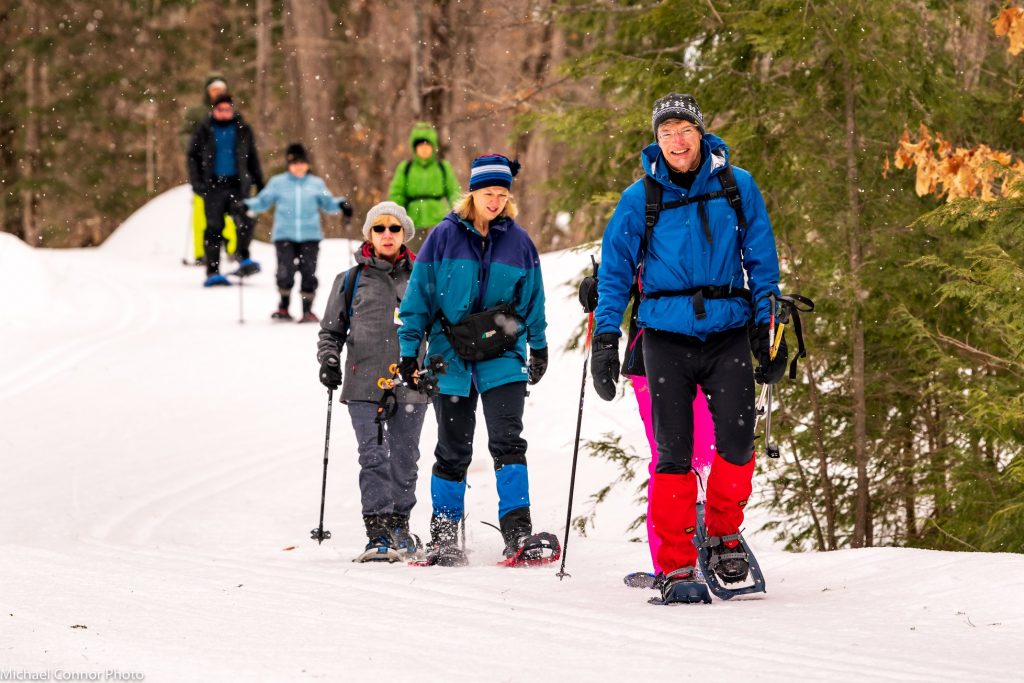
Lots of guided snowshoeing this year! Photo cred: Michael Connor.
We’ve talked about equipment; now it’s time to talk
clothing. The right clothing will keep you warm and comfortable whether you’re
cross-country skiing or snowshoeing.
Cross-country skiers dress a lot like runners. You create a
lot of heat when you ski, so you actually don’t need a ton of clothing. Do not
dress like an alpine skier! The key is warm, breathable layers of varying
thicknesses that wick away moisture. You can combine these layers depending on
the temperature. Merino wool or synthetics are best; do not wear cotton, as it
will retain moisture and make you cold.
Suggested items for skiers, from head to toe:
Toques. Keep that head warm!
Buffs/neck warmers for cold days (buffs can also
be transformed into hats).
Sunglasses.
Top layers of varying thicknesses (it’s good
have a thin layer, a mid layer, and a heavy layer that you can mix and match as
the temperature dictates).
A jacket that can cut the wind. There are
cross-country specific jackets of varying weights. It’s good to have one light
weight jacket for spring, and a heavier jacket for winter. These are a good
investment!
Pants. Winter running tights or cross-country
specific pants (both will often have wind resistant front panels) will work
just fine. Do not wear jeans! Bulky snow pants will be too warm.
Add long underwear for really cold days. Again,
wool or synthetics.
Wool socks. Thinner socks for warmer days,
thicker socks for colder days. I love my knee-length merino wool ski socks!
Gloves. A thin pair for warm days, thicker pair
for cold days. For really cold days, mitts are more effective.
Sunscreen and lip balm.
Rule of thumb: You should be chilly before you start. If you
are already warm, you will overheat when you are moving.
The principles are the same for snowshoers, but because you
are moving at a less intense pace, you may need thicker layers, a heavier jacket,
and you may want to wear snow pants (or layer with long underwear).
Remember that bodies are different, so it will take some
experimentation to figure out what works for you in different conditions. Just
remember the main principles – technical layers (no cotton!), wind resistant
outer layers, and cover those sensitive extremities (face, ears, hands, toes)
when the mercury really drops!
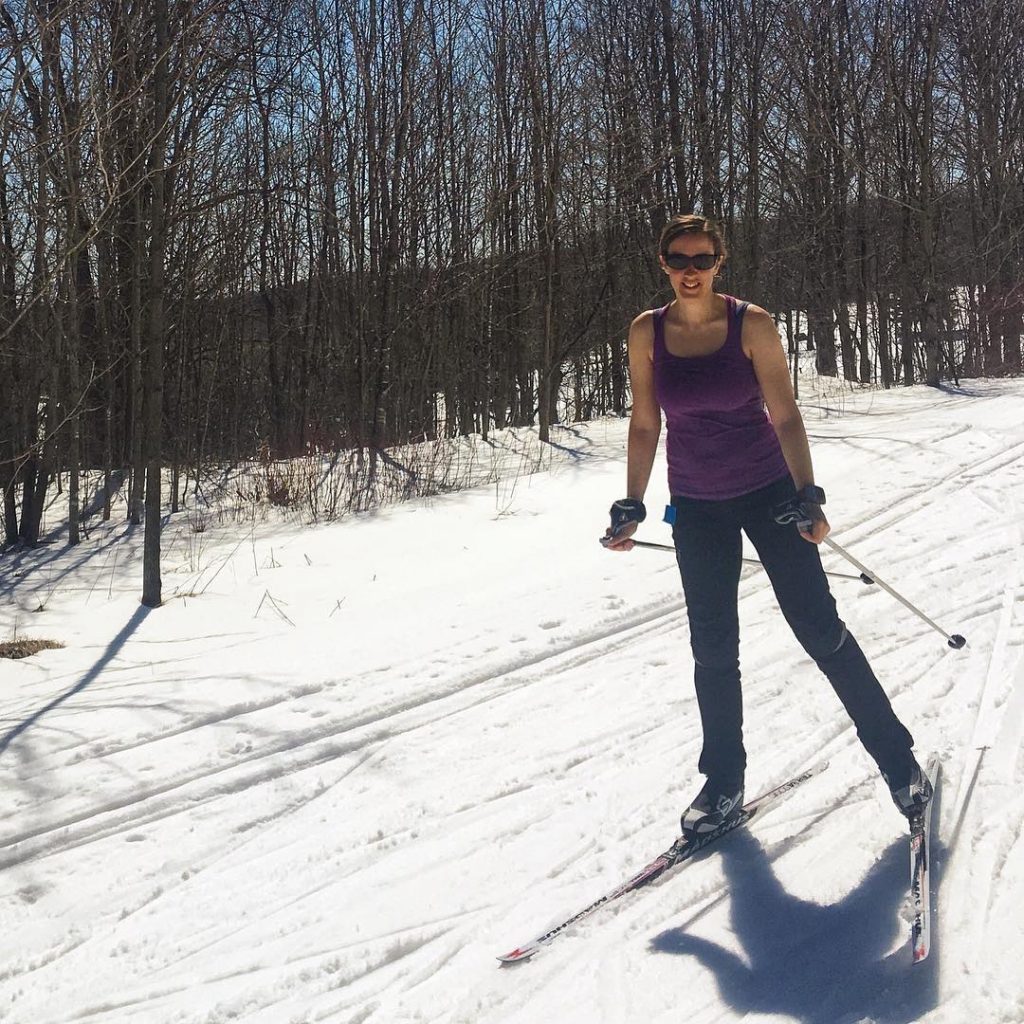
(The above demonstrates why layers are key…you can ski in -30 in January or +12 in April!)
Congrats, you just bought waxless classic skis! But wait. Yes, we need to talk about waxing.
Traditionally, classic skis needed to have two types of wax applied – grip wax and glide wax. Grip wax is applied to a pocket underneath the foot (the size of which is dependent on the skier). When the skier puts their weight on their foot, the wax grips the snow and the skier can push off the ski and glide on the other foot. You need to apply the correct temperature of grip wax for the snow temperature otherwise you will not get good grip. There are a wide array of temperatures that are colour-coded (red and purple are warmer waxes and blue and green are colder waxes – and there are a bunch of variations within). Hardwood and Highlands conditions page will tell you what they think the “wax of the day” is. There could be more than one as conditions change through the day.
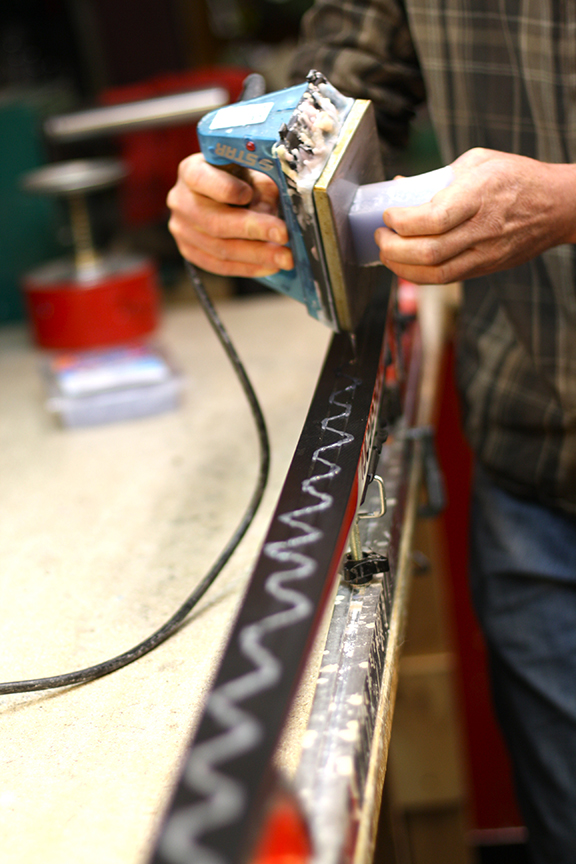
Hot waxing skis….requires equipment and well ventilated space. Do not attempt in your city apartment!
The other part of the equation – glide wax – is applied above and below the grip wax zone (the “tips and tails” of the ski). This wax helps you to glide faster. There are different types of glide wax. The more traditional one comes in hard blocks of wax that are melted onto the ski, ironed in, and then the excess is scraped off. Racer will use this method as it is considered the most effective. Like grip wax, racers will glide wax every time according to the conditions of the day. Glide wax also comes in a variety of temperatures from warm to cold to match the snow temperature.
However, we are not racers and we don’t need to make it so complicated! Plus, we don’t all have the facilities to “hot wax”. Read on fellow recreational skiers for some glide wax guidance.
If you have waxless skis, you do not need grip wax. You achieve grip on the snow with a scale pattern etched in the base of the skis or, a more recent innovation, skins (a strip of mohair/nylon that is applied to the grip zone). This is where the term ‘waxless’ comes from – because there is no grip wax used.
BUT, you still should use glide wax to achieve a good glide.
You can hot wax your skis yourself if you have the right space and want to invest in all wax tools (or you can use the wax hut at the resort and waste…ahem, spend…ski time waxing). Then you can fine tune your skis to the conditions of the day. Or, if the resorts offer waxing services you can ask them to do it (but then you won’t have your skis for a while). Also remember that whatever wax they put on will be good for the conditions of that day – and that may not work the next time you go out.
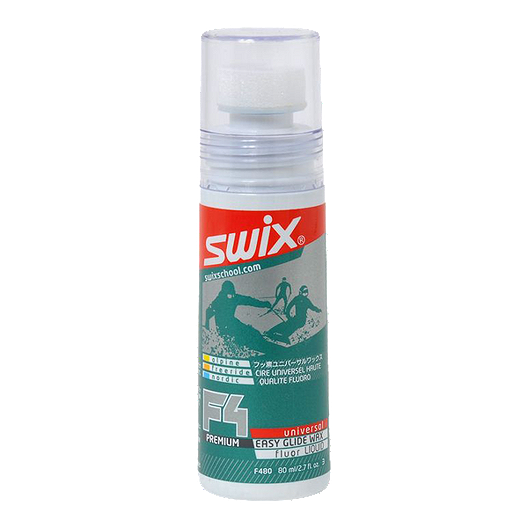
An example of liquid glide wax. Cheap and easy route and the quality of them has improved immensely.
The other option is liquid glide waxes. These come in a broad temperature ranges (so you won’t have to own so many bottles). You apply these every time you go out to ski. It’s very easy – you dab the liquid on the ski and spread it around. Then let it dry. Then buff it in with a nylon brush. And off you go. Liquid waxes are very good these days. Swix and Vauhti are the most common glide waxes.
I will often get my skis hot waxed at Highlands a couple times/season (to help keep my bases healthy), but I use liquid glide wax every time I go out.
Waxless skis have taken much of the waxing mystery out of skiing. Is it a blue day? Violet? Red? I don’t know! If you don’t want to deal with grip wax in the highly changeable conditions we find ourselves in Southern Ontario (and really, who does?), waxless skis are a great option. But use glide wax on the tips and tails and you might find yourself gliding along a bit faster.
We’ve got one more cross-country ski swap for you, Nov. 9-10 at Velotique in Toronto. Check it out if you need new ski gear, or want to sell your old gear.
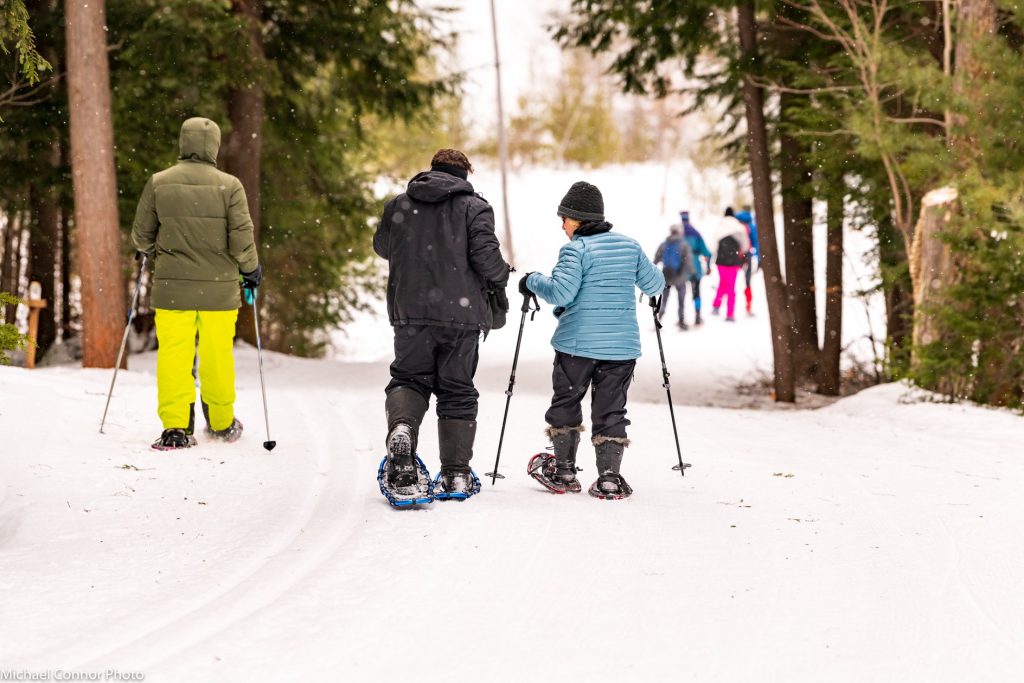
Snowshoeing is a wonderful way to enjoy winter in the woods! Photo: Michael Connor
At HPSC, we also snowshoe. Snowshoeing is less complicated than skiing in terms of gear. Basically, you need snowshoes and a good pair of winter boots. While the basic idea of snowshoeing has remained the same (create more surface area to spread out your weight so you don’t sink in the snow), snowshoe technology is much different now than in the days of the wooden shoes. They are now made of lighter materials, such as aluminum (and we’re sure carbon fibre ones probably exist!) or plastic (durable and inexpensive, but will not have as much flex), they have various binding systems, and features like crampons to help you up icy slopes.
Like skis, the snowshoes you want will depend on the type of
snowshoeing you plan to do. Are you going to be on well-packed terrain? Deep
snow? Flat terrain? Hilly? Are you going to be doing something crazy like
running in them? Snowshoes will have different features appropriate to
different terrain.
To size them, you need to figure out the weight the snowshoes will be supporting (i.e. you + all your gear). For HPSC daytrips, the weight won’t be much more than your body weight, but if you are headed out on a backcountry trip fully loaded with camping gear, you are going to be much heavier. Snow conditions also play a role; for well packed snow, you can get by with a smaller surface area. But don’t get too caught up in this; any snowshoes will work, they just might not be the most effective for the conditions of the day. Get something that will work for the majority of snowshoeing you will do.
When you are ready to buy, bring the winter boots you plan
on wearing and try on shoes. Different binding systems will feel more or less
comfortable.
There are also accessories to consider such as heel lifts if you are going to be doing a lot of climbing, or tail extensions to give you more surface area if you need it. Many also snowshoe with poles, especially if you are in hilly terrain. Gaiters are also useful to prevent deep snow from getting inside your boots (speaking from experience…wet socks aren’t fun!).
You can see the use of snowshoes, poles, and gaiters! Photo: Michael Connor
Highlands Nordic Ski Swap! 15% of proceeds goes to the Trailblazers (the race team).
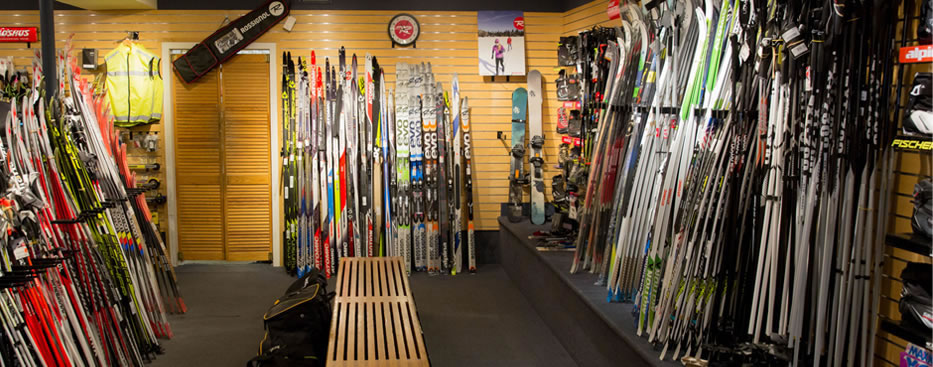
Need new-to-you ski gear? Of course you do! Head on over to a couple of our favourite resorts for their annual fall ski swaps.
What’s a ski swap? People bring in their used ski gear and sell it to people who need used gear. There are two ski swaps in October…
Head on over to Hardwood Ski and Bike first on Oct. 19/20. If you don’t find what you’re looking for there, head on over to Highlands Nordic Oct. 26/27. Then show off your new-to-you skis when the snow flies!
Now that we’re solidly into fall, it’s a good time to talk
about what you need to launch your new passion – cross-country skiing and
snowshoeing.
If you’re brand new to the sport, we recommend that you rent for the first few times; once you know you love the sport, buy gear. It will save you lots of money in the long run. Once you invest, you’re good to go for years, although you may want to upgrade eventually as ski technology advances and/or your skills outgrow your skis.
As with any sport, you can spend as much as you want. There’s everything from wider, heavier entry level recreation skis at the low end of the price point (about $200) to thin, super light carbon race skis at the top end of the price point (about $1000) and everything in between.
Broadly speaking, there’s two types of skis – those used for skiing on groomed snow (either classic or skate) and those for backcountry touring. While you can use any (classic) skis in the backcountry, if that is your main purpose for skiing, it is best to buy actual backcountry skis. They are wider and have edges, both of which have advantages on ungroomed snow. Since we do not do backcountry skiing, this post will be aimed at skis designed for groomed snow.
There is no one type of skis that are “best”. The skis that are best for you are based on a number of personal factors, including your skill level and the type of skiing you do/want to do as well as your budget. They also – and this is critical – have to be sized correctly for your weight. Both classic and skate skis have flex in them (called the camber). If a ski is too stiff for you, you won’t be able to get enough weight on the ski to push off the snow effectively. If a ski is too soft for your weight, it will drag on the snow and you won’t be able to glide well – and that is the fun part of skiing! This is why I don’t recommend buying a random set of skis off the internet. I prefer to physically go to a store where they can put me on a ski and make sure that it will work for me. Here I will give you a broad overview of skis so you can get a sense of what you are looking for and can be more prepared when you go to a store. This is the most advice I can give – I am not an expert and you should speak to the experts in the store to figure out what is right for you.
First, up, classic skis. Classic skis come in waxable or waxless. Waxable means that you apply wax to the grip zone under your foot, and that wax grips the snow when you put your weight on the ski. This used to be the only option – if you wanted to ski, you had to put on wax! Waxes come in different temperatures and what you use depends on the snow temperature. When conditions are good for waxing (when it’s cold), waxable skis are fast and awesome. But, conditions in Ontario are highly variable with increasing freeze/thaw cycles and more and more ski days hovering around zero. Consequently icy conditions are becoming more common and waxing can be a real challenge.
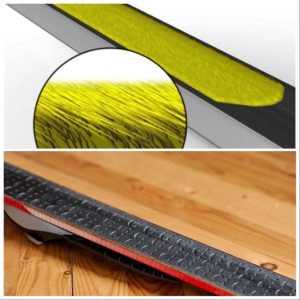
Skins on top; scales on the bottom
Luckily there are now a ton of great quality “waxless” skis on the market, which makes skiing a bit more accessible because you don’t have to worry about grip waxing (you can just slap on some liquid glide wax – see our other article about waxing – and go). Waxless skis either have a pattern etched into the grip zone (“scales”) or a strip of mohair (“skins”) that grips the snow. There are advantages and disadvantages to both. Scales are great for beginners because the grip zone is longer and it is easier to achieve grip. That’s important for beginners to have fun – you don’t want to be slipping and sliding all over the place. However, scales do not have great glide – that’s the trade off. I actually feel myself slowing down on the downhills and double poling is more frustrating with my scales. Skins have much better glide as the grip zone (the skin zone) is much shorter than scales and they don’t drag on the snow as much. You will find going downhill and double poling much faster. However, it can be trickier to achieve good grip as they require better technique (you need to be able to balance on one ski and get all your weight on it). They do come with bindings that move forward and back to help with more grip or more glide, but that may not be enough if your technique doesn’t allow you get your weight on the ski when you push. I also find there are certain conditions when skins are challenging to get grip even when you have good technique. When temperatures hover around zero or it’s icy (or I just really want reliable grip and I’m ok with less glide), I still use my scales (because I have that option). There is no right answer for what to get; you need to weigh the pros and cons. If your technique is not great (like most beginners), you could start with scales and upgrade to skins later (so this would mean having to buy a new set of skis in a few years if you wanted). Or, you could start with skins and have your technique “grow into them.” This *may* be frustrating for first little while. Remember, this is just one opinion about skins; others say that skins are supposed to work really well in the conditions I find frustrating with them. Do some research, talk to experts.
Skate skis are a little less complicated to buy as you don’t have a grip zone to worry about; you just need to worry about getting the right ski for your weight so that you can push off laterally and glide effectively. Skate skis are shorter than classic skis and have a bit more of an edge to them (so you can push). The shorter ski gives you better agility than on classic skis.
Once you have your skis, you will need boots and bindings. Boots are important – get a pair that are comfortable, or your feet will be unhappy. Walk around the store and really make sure they will work. Like skis, boots come in a whole range of price points from about $200 for basic boots to a heck of a lot more for lighter race boots. Skate boots have a higher ankle to provide more support as you move laterally. There are what are called “combo” boots that you can use for both classic and skate (some people love them, others don’t…it’s a personal thing. But the combo boots are likely also better now than they used to be). Bindings used to be specific to the boot you bought, as there were two different types of bindings. But all the companies now make compatible bindings, so this is no longer an issue. I prefer manual bindings, but, again, it’s a personal thing.
Poles are the final piece of the puzzle. Skate and classic poles are different lengths. Classic poles should generally come up to the top of your armpit (generally people are going a little higher than they used to) and skate poles to your chin/mouth. A nice feature to have is the hand straps that click out of the pole – so that you don’t need to take them on and off whenever you need to do something with your hands (important stuff – like take photos!). An expert at a store will be able to fit you with the right length pole. If they don’t have your size, it’s no big deal – they can cut down a longer pole. Like skis and boots, the price point varies widely from about $40 for really basic poles to hundreds of dollars for super light, carbon fancy poles.
When you are ready to buy, we recommend visiting stores that specialize in skiing. Hardwood Hills and Highlands Nordic have great pro shops and knowledgeable staff. They have demo days where you can try out skis (usually in January), and they sell packages if you are getting a new set up. Hardwood also has what they call “performance rentals” where you can rent higher end skis, which is a great way to try out better gear. We highly recommend talking to them if you are able to get up there (or we are there). Highlands usually has a 20% off end of season sale and Hardwood this year had a 40% off sale (this isn’t normal, but they normally do have end of season sales). There is no guarantee that at the end of the season they will have your size, though. In the city, Velotique is the best option. MEC sells XC skis, but we recommend buying them there only if you already know what you want to buy. (I find the staff not as knowledgeable as they used to be). It seems like the market squeeze has passed and gear is more readily available.
Everyone has different opinions about gear, and this article is just one. Again, I recommend talking to the experts.
Updated 2023
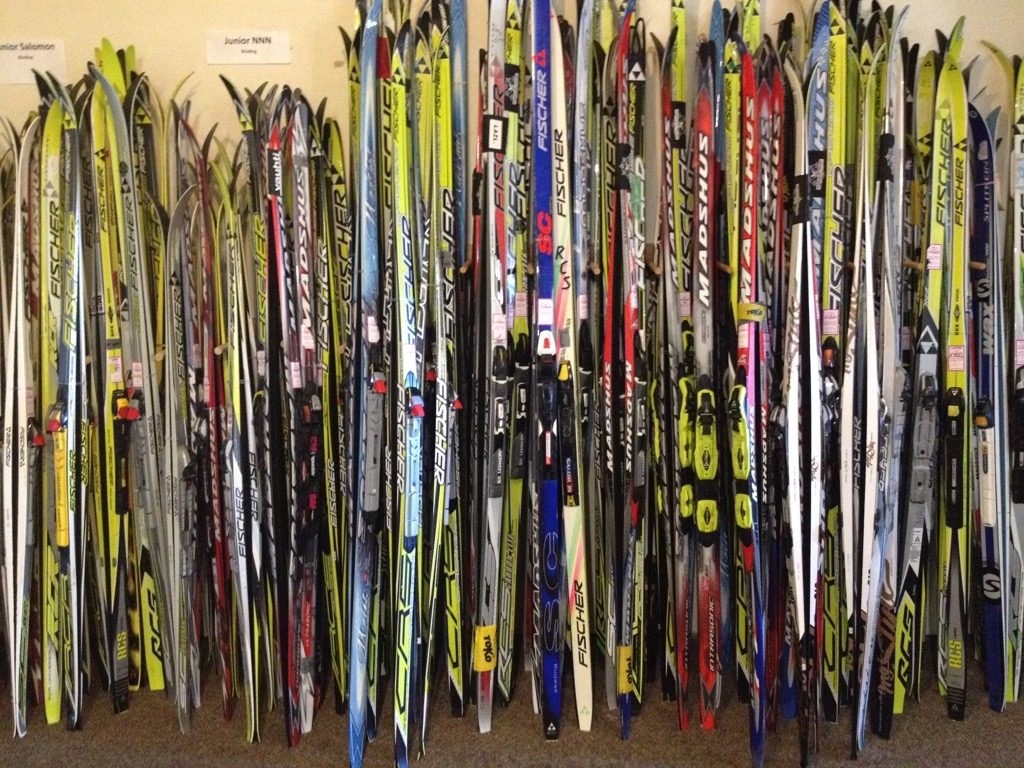
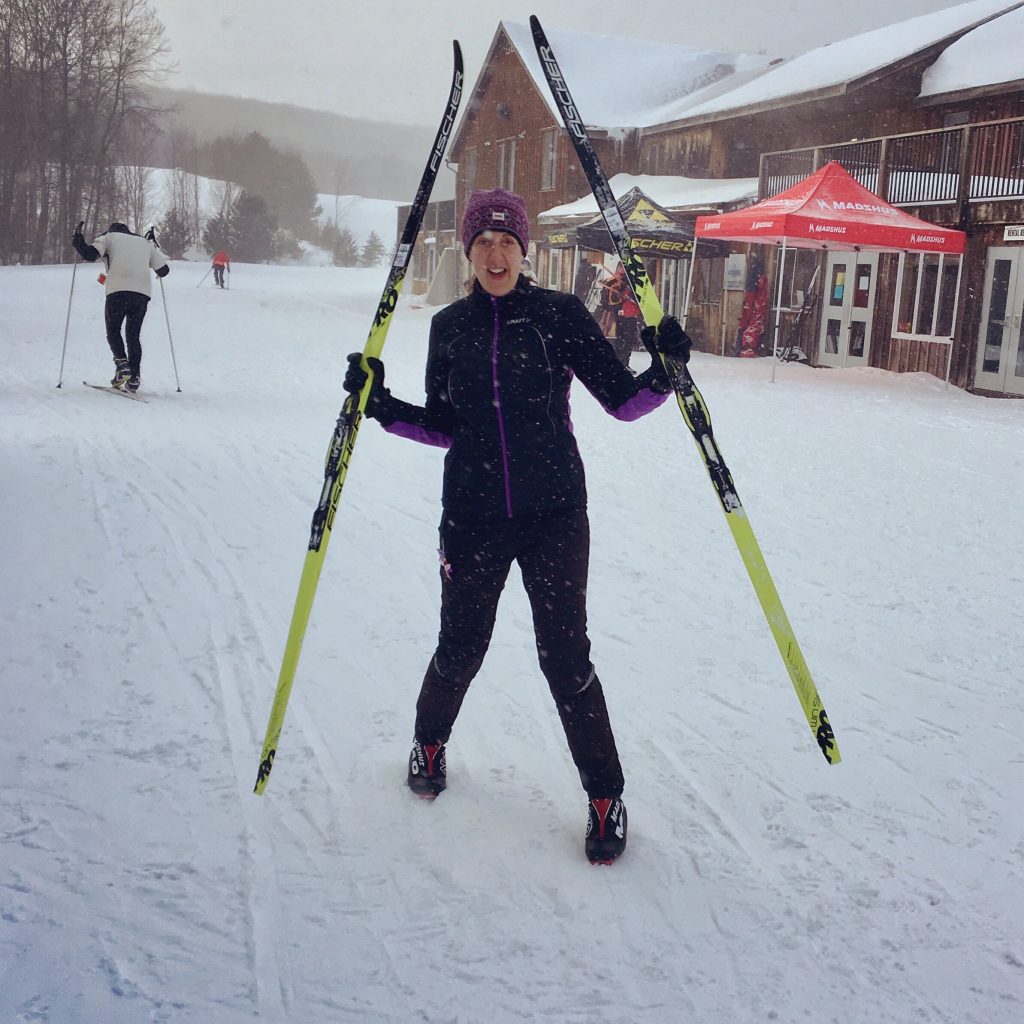
You too can be an excited new owner of cross-country skis!