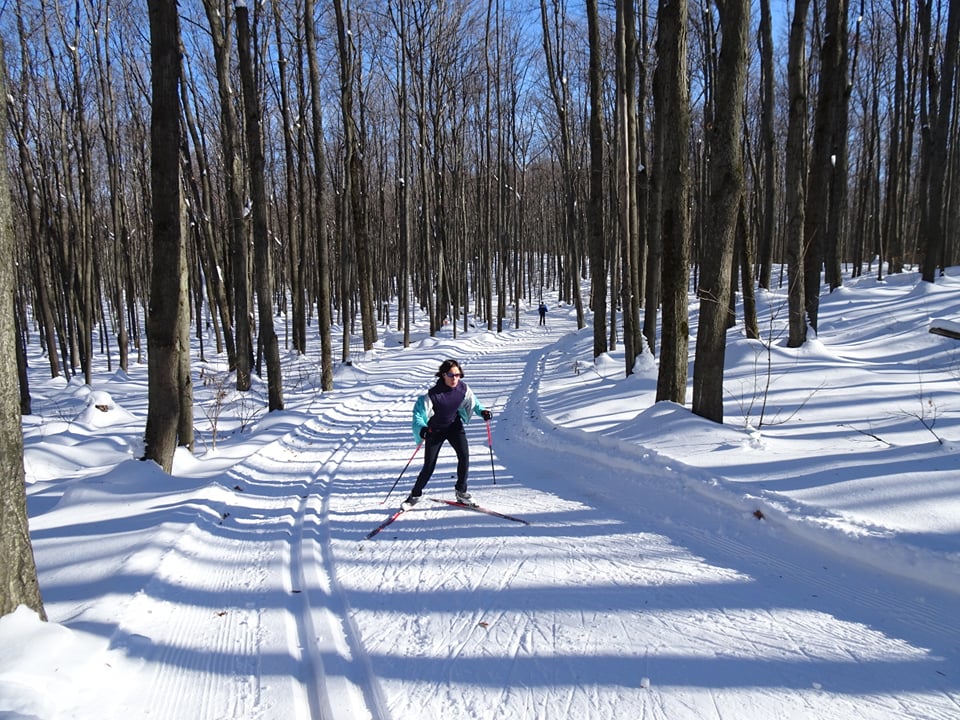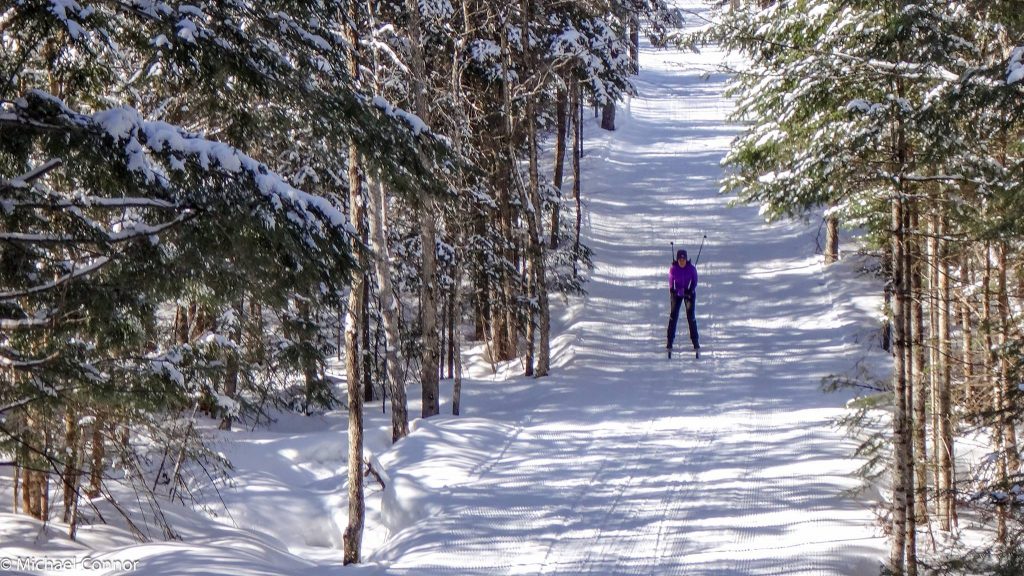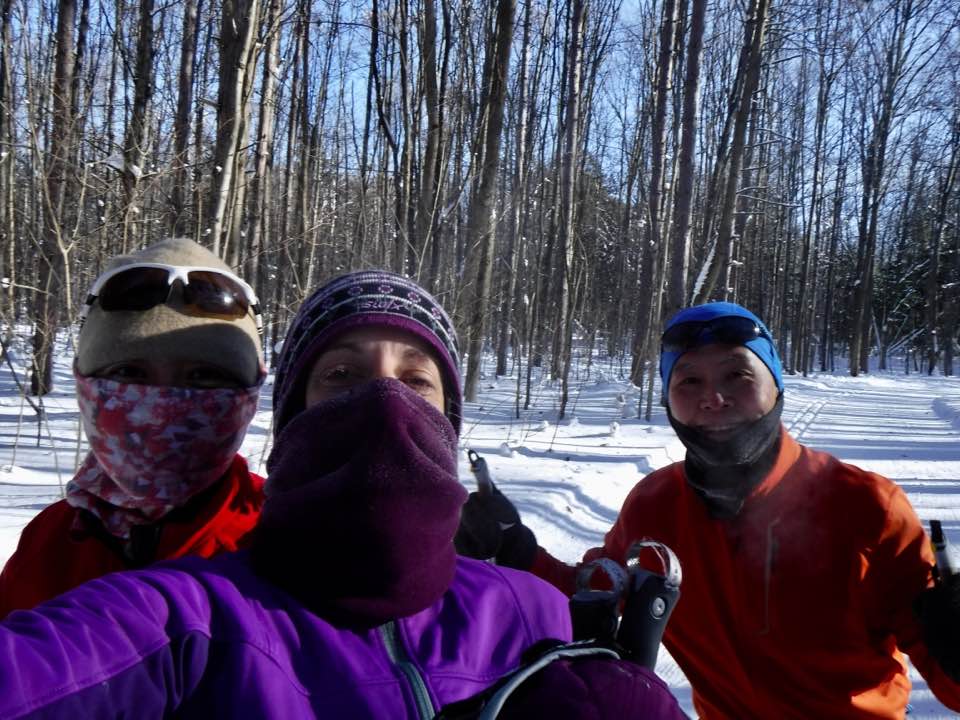
The snow is flying in Toronto and up north, and you can now view the full cross-country schedule, with all of our fun programming, on the website.
The early December trips are combo trips with downhill and are open for registration. The Dec. 28 and early January trips will be available for registration the first week of December.
Here are some highlights of our season…
December 28th – our annual New Year’s Eve Celebration with bubbly and snacks after skiing.
Test drives on Jan. 5 & Jan. 11. Get your friends to try out our amazing club! They can register through the website without buying a membership.
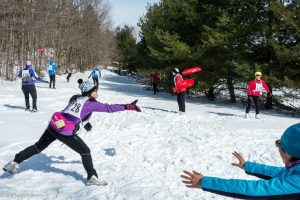
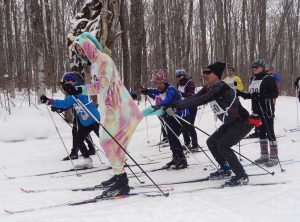
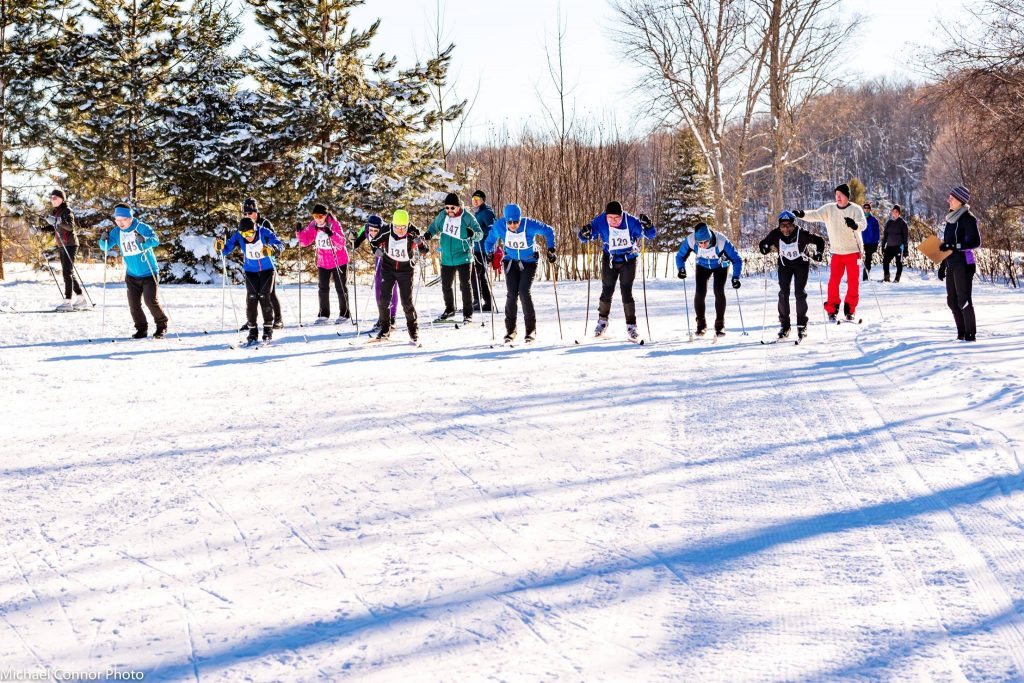
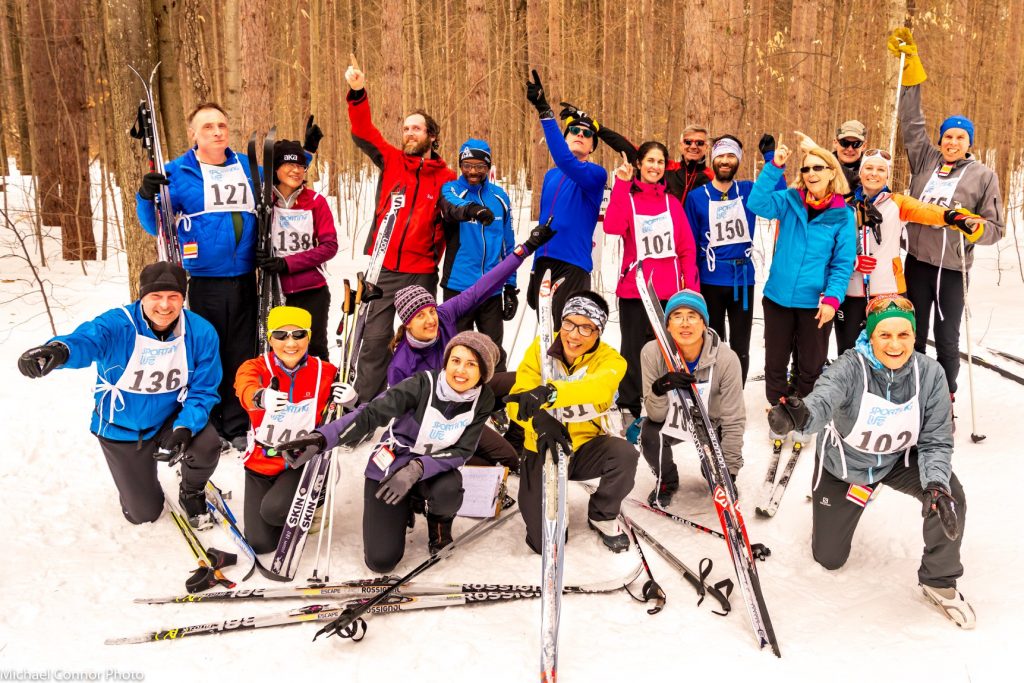
Test your skills and have some fun in our race series! We open with our annual Frisbee Biathlon on Jan. 4 at Highlands and end with our new Beginner/Advanced Spring Fling Costume Race on Mar. 8 at Horseshoe Valley.
Crossover Day is Jan. 25! We welcome our downhill friends and celebrate XC skiing and snowshoeing with a scavenger race and wine and cheese.
Explore the backcountry at Kolapore with our experienced guides on Feb. 8.
Have a tasty dinner with your friends after a day of skiing with our dinner trip to Amiche on Feb. 29.
Two trips to a NEW to us resort – Kawartha! Join us Jan. 26 and Mar. 14.
Guided snowshoeing on Dec. 28, Jan. 5, Jan. 11, Jan. 18, Feb. 2, Feb. 8, Feb. 22, Feb. 29, Mar. 7, Mar. 14, and Mar. 21.
We’ve talked about equipment; now it’s time to talk
clothing. The right clothing will keep you warm and comfortable whether you’re
cross-country skiing or snowshoeing.
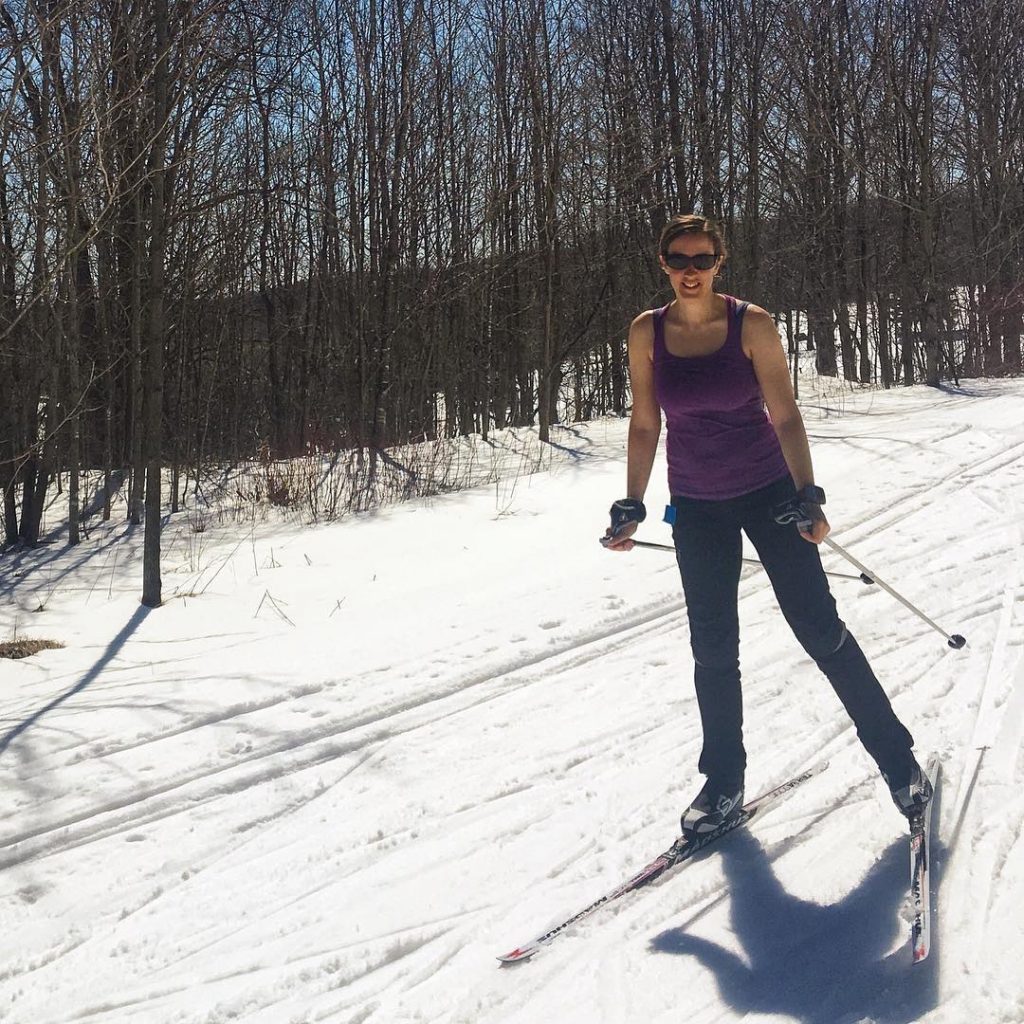
Cross-country skiers dress a lot like runners. You create a
lot of heat when you ski, so you actually don’t need a ton of clothing. Do not
dress like an alpine skier! The key is warm, breathable layers of varying
thicknesses that wick away moisture. You can combine these layers depending on
the temperature. Merino wool or synthetics are best; do not wear cotton, as it
will retain moisture and make you cold.
Suggested items for skiers, from head to toe:
Toques. Keep that head warm!
Buffs/neck warmers for cold days (buffs can also
be transformed into hats).
Sunglasses.
Top layers of varying thicknesses (it’s good
have a thin layer, a mid layer, and a heavy layer that you can mix and match as
the temperature dictates).
A jacket that can cut the wind. There are
cross-country specific jackets of varying weights. It’s good to have one light
weight jacket for spring, and a heavier jacket for winter. These are a good
investment!
Pants. Winter running tights or cross-country
specific pants (both will often have wind resistant front panels) will work
just fine. Do not wear jeans! Bulky snow pants will be too warm.
Add long underwear for really cold days. Again,
wool or synthetics.
Wool socks. Thinner socks for warmer days,
thicker socks for colder days. I love my knee-length merino wool ski socks!
Gloves. A thin pair for warm days, thicker pair
for cold days. For really cold days, mitts are more effective.
Sunscreen and lip balm.
Rule of thumb: You should be chilly before you start. If you
are already warm, you will overheat when you are moving.
The principles are the same for snowshoers, but because you
are moving at a less intense pace, you may need thicker layers, a heavier jacket,
and you may want to wear snow pants (or layer with long underwear).
Remember that bodies are different, so it will take some
experimentation to figure out what works for you in different conditions. Just
remember the main principles – technical layers (no cotton!), wind resistant
outer layers, and cover those sensitive extremities (face, ears, hands, toes)
when the mercury really drops!
(The above demonstrates why layers are key…you can ski in -30 in January or +12 in April!)
Congrats, you just bought waxless classic skis! But wait. Yes, we need to talk about waxing.
Traditionally, classic skis needed to have two types of wax applied – grip wax and glide wax. Grip wax is applied to a pocket underneath the foot (the size of which is dependent on the skier). When the skier puts their weight on their foot, the wax grips the snow and the skier can push off the ski and glide on the other foot. You need to apply the correct temperature of grip wax for the snow temperature otherwise you will not get good grip. There are a wide array of temperatures that are colour-coded (red and purple are warmer waxes and blue and green are colder waxes – and there are a bunch of variations within). Hardwood and Highlands conditions page will tell you what they think the “wax of the day” is. There could be more than one as conditions change through the day.
The other part of the equation – glide wax – is applied above and below the grip wax zone (the “tips and tails” of the ski). This wax helps you to glide faster. There are different types of glide wax. The more traditional one comes in hard blocks of wax that are melted onto the ski, ironed in, and then the excess is scraped off. Racer will use this method as it is considered the most effective. Like grip wax, racers will glide wax every time according to the conditions of the day. Glide wax also comes in a variety of temperatures from warm to cold to match the snow temperature.
However, we are not racers and we don’t need to make it so complicated! Plus, we don’t all have the facilities to “hot wax”. Read on fellow recreational skiers for some glide wax guidance.
If you have waxless skis, you do not need grip wax. You achieve grip on the snow with a scale pattern etched in the base of the skis or, a more recent innovation, skins (a strip of mohair/nylon that is applied to the grip zone). This is where the term ‘waxless’ comes from – because there is no grip wax used.
BUT, you still should use glide wax to achieve a good glide.
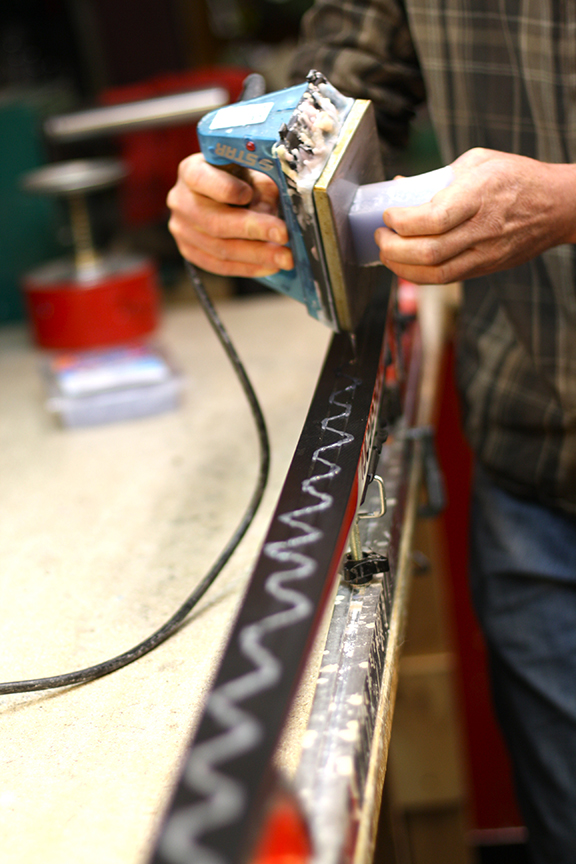
You can hot wax your skis yourself if you have the right space and want to invest in all wax tools (or you can use the wax hut at the resort and waste…ahem, spend…ski time waxing). Then you can fine tune your skis to the conditions of the day. Or, if the resorts offer waxing services you can ask them to do it (but then you won’t have your skis for a while). Also remember that whatever wax they put on will be good for the conditions of that day – and that may not work the next time you go out.
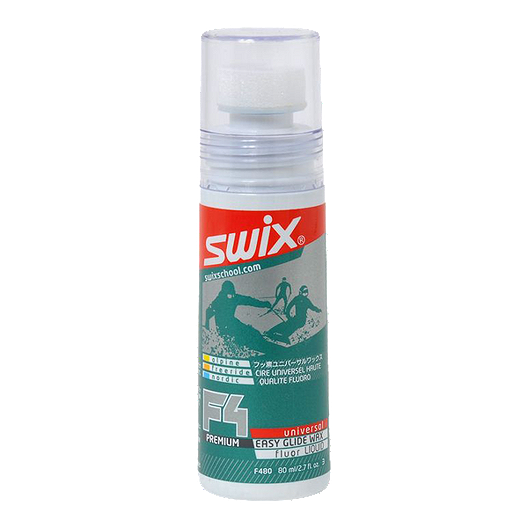
An example of liquid glide wax. Cheap and easy route and the quality of them has improved immensely.
The other option is liquid glide waxes. These come in a broad temperature ranges (so you won’t have to own so many bottles). You apply these every time you go out to ski. It’s very easy – you dab the liquid on the ski and spread it around. Then let it dry. Then buff it in with a nylon brush. And off you go. Liquid waxes are very good these days. Swix and Vauhti are the most common glide waxes.
I will often get my skis hot waxed at Highlands a couple times/season (to help keep my bases healthy), but I use liquid glide wax every time I go out.
Waxless skis have taken much of the waxing mystery out of skiing. Is it a blue day? Violet? Red? I don’t know! If you don’t want to deal with grip wax in the highly changeable conditions we find ourselves in Southern Ontario (and really, who does?), waxless skis are a great option. But use glide wax on the tips and tails and you might find yourself gliding along a bit faster.
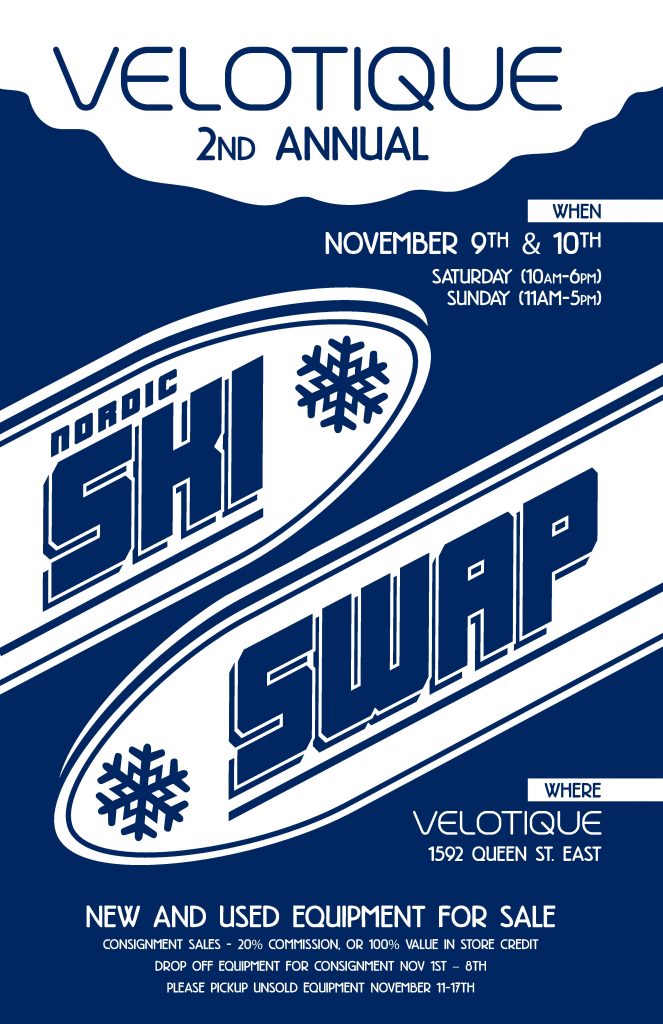
We’ve got one more cross-country ski swap for you, Nov. 9-10 at Velotique in Toronto. Check it out if you need new ski gear, or want to sell your old gear.
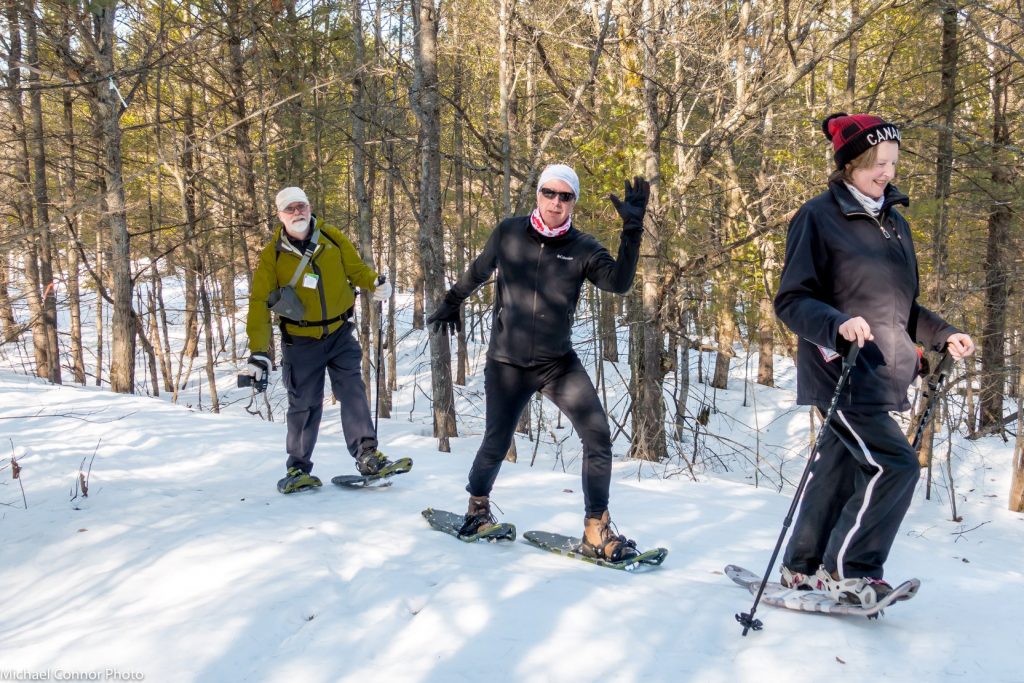
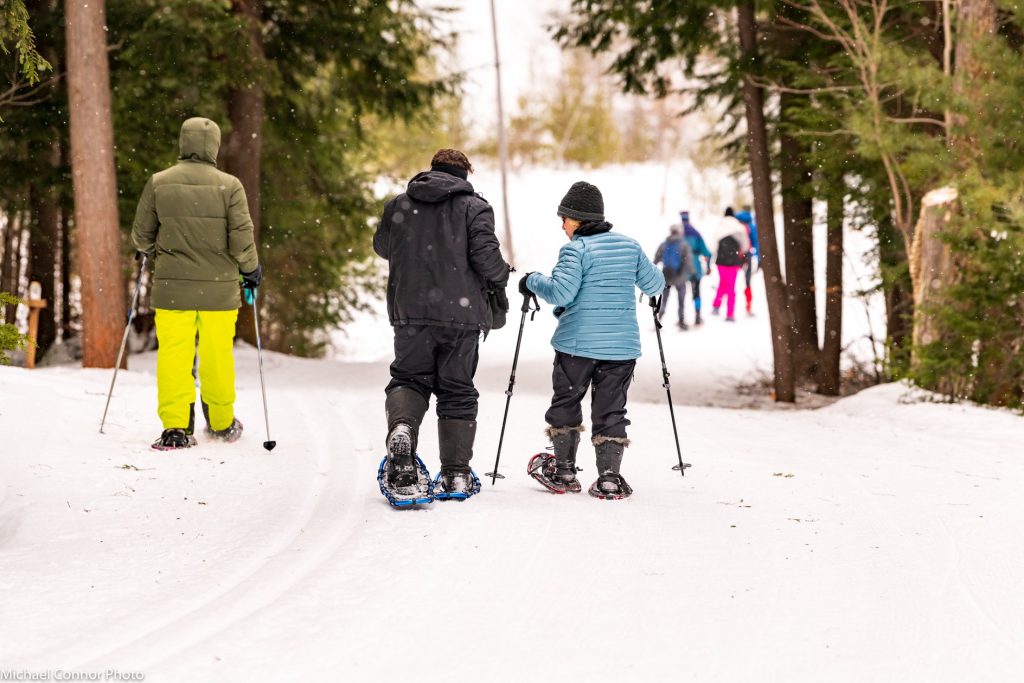
Snowshoeing is a wonderful way to enjoy winter in the woods! Photo: Michael Connor
At HPSC, we also snowshoe. Snowshoeing is less complicated than skiing in terms of gear. Basically, you need snowshoes and a good pair of winter boots. While the basic idea of snowshoeing has remained the same (create more surface area to spread out your weight so you don’t sink in the snow), snowshoe technology is much different now than in the days of the wooden shoes. They are now made of lighter materials, such as aluminum (and we’re sure carbon fibre ones probably exist!) or plastic (durable and inexpensive, but will not have as much flex), they have various binding systems, and features like crampons to help you up icy slopes.
Like skis, the snowshoes you want will depend on the type of
snowshoeing you plan to do. Are you going to be on well-packed terrain? Deep
snow? Flat terrain? Hilly? Are you going to be doing something crazy like
running in them? Snowshoes will have different features appropriate to
different terrain.
To size them, you need to figure out the weight the snowshoes will be supporting (i.e. you + all your gear). For HPSC daytrips, the weight won’t be much more than your body weight, but if you are headed out on a backcountry trip fully loaded with camping gear, you are going to be much heavier. Snow conditions also play a role; for well packed snow, you can get by with a smaller surface area. But don’t get too caught up in this; any snowshoes will work, they just might not be the most effective for the conditions of the day. Get something that will work for the majority of snowshoeing you will do.
When you are ready to buy, bring the winter boots you plan
on wearing and try on shoes. Different binding systems will feel more or less
comfortable.
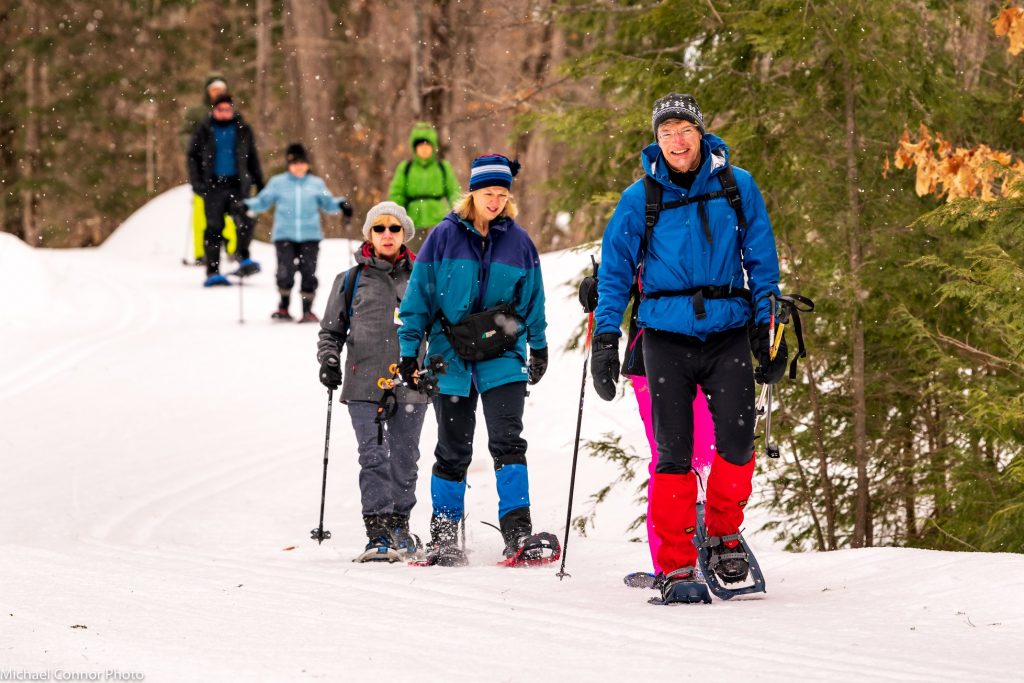
There are also accessories to consider such as heel lifts if you are going to be doing a lot of climbing, or tail extensions to give you more surface area if you need it. Many also snowshoe with poles, especially if you are in hilly terrain. Gaiters are also useful to prevent deep snow from getting inside your boots (speaking from experience…wet socks aren’t fun!).
You can see the use of snowshoes, poles, and gaiters! Photo: Michael Connor
Your cross-country executive committee gets lots of feedback regarding pick up/drop off schedules. West-enders point out that they spend twice the amount of time on the bus as everyone else. Drivers want a 400/Hwy 7 drop off on Saturdays (currently only the case with two bus trips).
We’ve decided to tackle both of these issues with a change to the Saturday pick up/drop off schedule. Starting this season, Saturday will feature a REVERSE drop off on the way home, with the addition of a stop at 400/Hwy 7 to accommodate those who drive. If you don’t want to wait to get off at York Mills, please drive to Hwy 7. If you take the subway, you can hop on the subway at Keele, Davenport, Eglington, or York Mills.
This is what the
standard schedule will look like going forward for Saturday:
Pick ups:
750am: Bloor/Indian Rd.
810am: Davenport
820am: Eglinton
830am: York Mills
845am: 400/Hwy 7
Drop offs:
400/Hwy 7
Bloor/Indian Rd.
Davenport
Eglinton
York Mills
Two bus trips will operate on our normal two bus schedule,
with the regular drop off schedule (Bus 1 – Queen’s Quay/Indian Rd/Hwy 7; Bus 2
– Yonge stops). Sunday will remain on the normal drop off schedule. All pick up
and drop off times will be communicated via email and on the status page for
every day trip. Be sure to check it before you go.
Cross-country skiing is one tough sport. We don’t need chairlifts to take us up hills! We’re sure that everyone is keeping active this summer doing all kinds of fun activities, such as running, cycling, hiking, and various water sports. All these are great cross training activities that will keep you in shape as we head towards fall and winter.
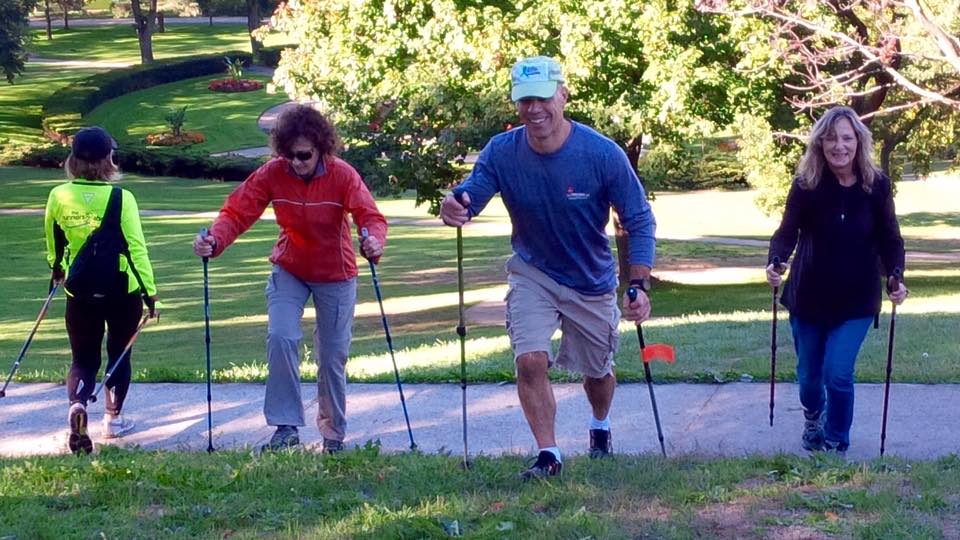
You can also add some cross-country skiing specific dryland training to your repertoire. Enter, ski walking/bounding. Heather, your XC director, has been playing around with this once a week in High Park. You look ridiculous, but it’s also a tough interval workout that will (hopefully) translate to more strength and power in your skiing.
HPSC members getting their ski walking on at SkiFit! Photo cred: Karen Evans.
Ski walking/bounding is moving up hills mimicking the classic ski stride, with or without poles. You want to do it with proper ski form – flexing at the ankles and keeping your hips forward. Walking keeps one foot on the ground at all times, while bounding gets you some air time. There are also plyometric exercises you can do to mimic skate skiing (essentially jumping side to side up the hill) and double poling (essentially bunny hopping uphill). There’s lots of resources online to consult if you’re interested in exploring this further. Proper form is important, so do some research before jumping in, and take it easy to start!
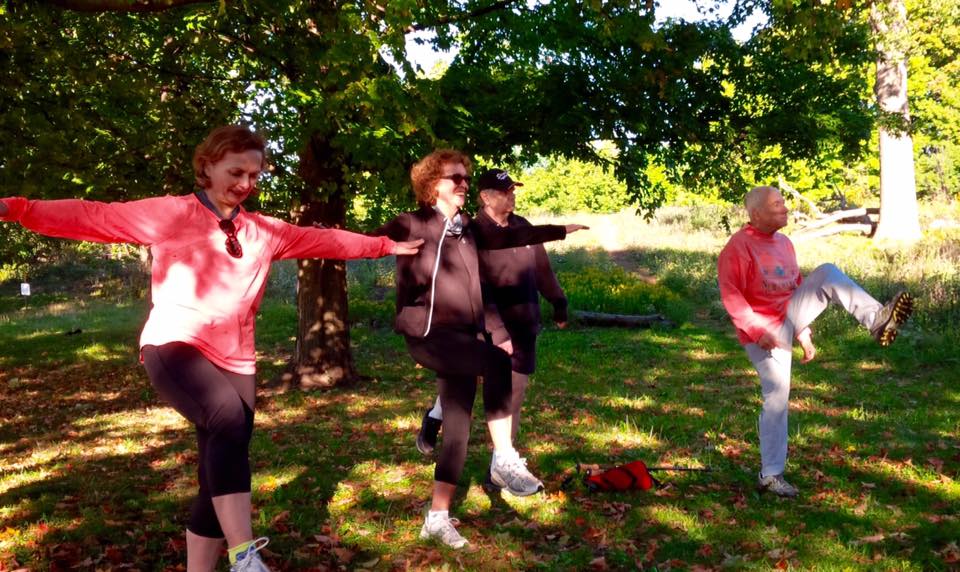
Balance is critical to good cross-country ski technique, for
both classic and skate. Like anything, if you want to improve your balance, you
need to practice. Try balancing on one leg while doing activities like TV
watching. It sounds easy. Then close your eyes!
Balance is best done with your HPSC friends. Photo cred: Karen Evans.
Strength training should also be a part of everyone’s life. Strong core muscles (abdominals, glutes, hips etc.) mean a body less prone to injury. You don’t have to be a weightlifter! There’s lots you can do at home, such as planks/squats/lunges, and single leg strength work is great for both strengthening muscles and improving balance. There are lots of resources online to demonstrate proper form.
If you want to ease your way back into ski training with your ski friends, be sure to join our SkiFit sessions in High Park every Saturday morning starting in September. There’s an intensity level for everyone, followed by brunch at the Grenadier Café. We welcome all members no matter your ski preference. We will also be offering the popular CrossFit series again this year. Check out the events calendar for all the details!
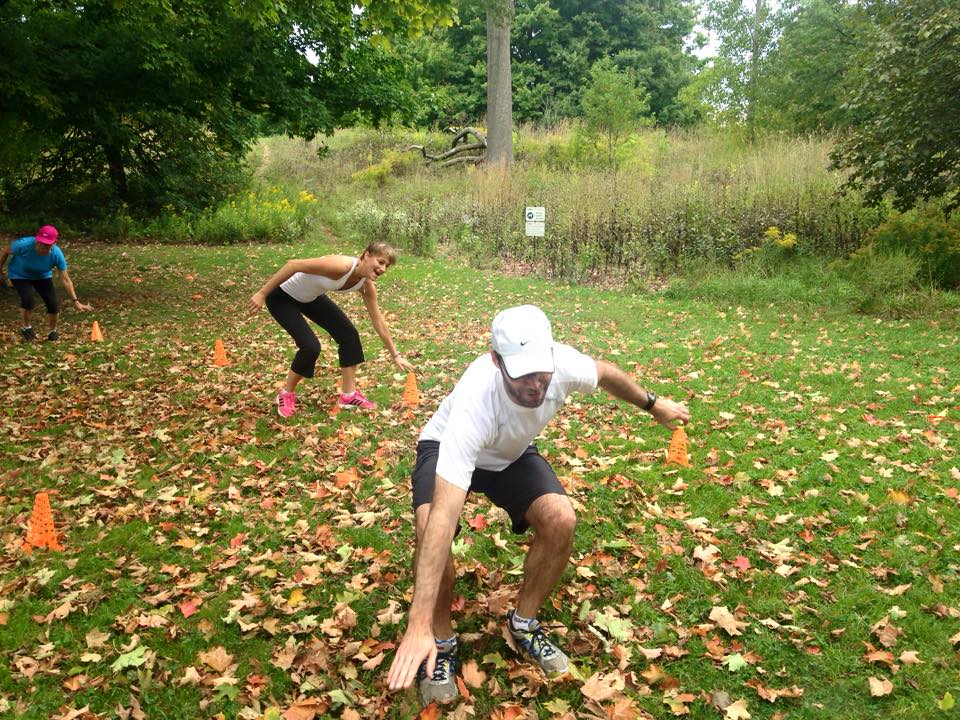
John always comes up with fun activities to test your fitness, agility and balance! Photo cred: Stella Rossovskaia.
(Disclaimer: Before beginning any new exercise activities, you should consult the proper resources to ensure you are doing them safely. This article is merely meant to give you some suggestions for ski specific training).
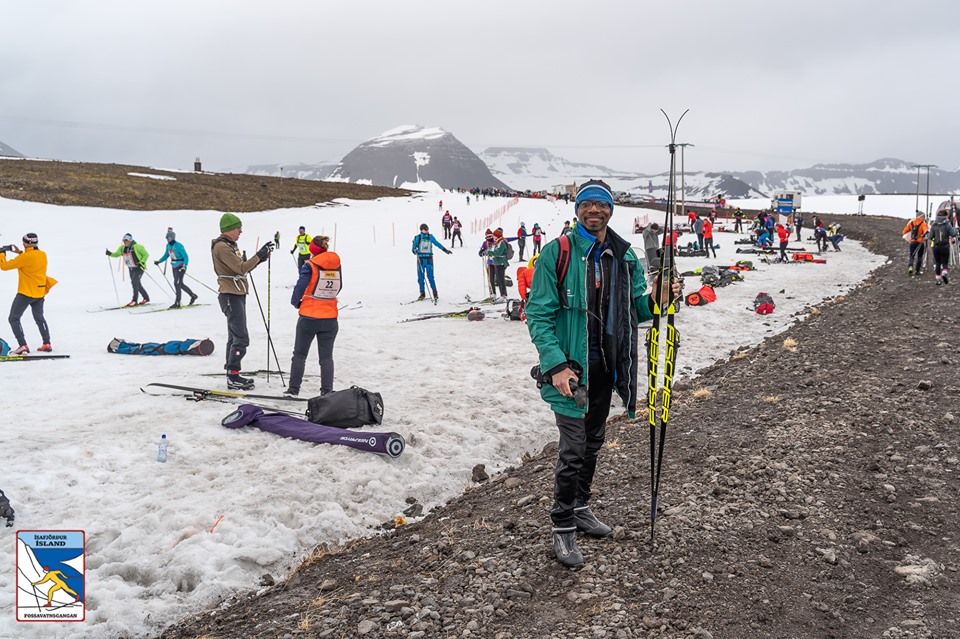
Jean-Émile Paraïso (J-E), a level 2 instructor with HPSC, perhaps broke a club record and cross-country skied in May, a full month after skiing ended in Southern Ontario! He participated in the final WorldLoppet of the season – the Fossavatnsgangan – held in the Westfjords region of Iceland on the first weekend in May. A 25km classic race awaited his arrival…
Unfortunately,
warm weather hit the country two weeks before the event, melting part of the
race course. Organizers had to slightly shorten the course (to 21km), but they
forged ahead. Cross-country skiers are hardy and can handle anything nature
throws at them. And that they did on race day.
Conditions, J-E reports, were challenging. A warm +5 degrees Celsius meant soft snow, and the weather just got wilder throughout the race, with hail, freezing rain, sleet, snow, rain and finally brief spot of sunshine. Throw in some strong winds with gusts up to 40km/hr just for fun. No grip going uphill, no glide going downhill….
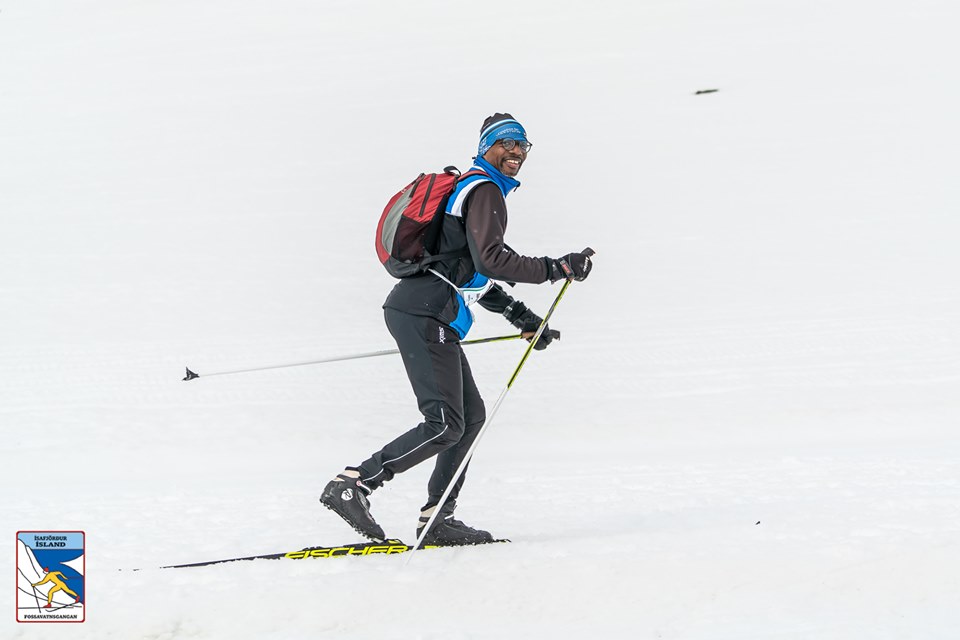
Despite all this, J-E did fantastic! He completed the 21km course in 1hr 54min and finished 33rd overall (out of 107). He finished 9th in his age category (35-49).
All smiles during the race!
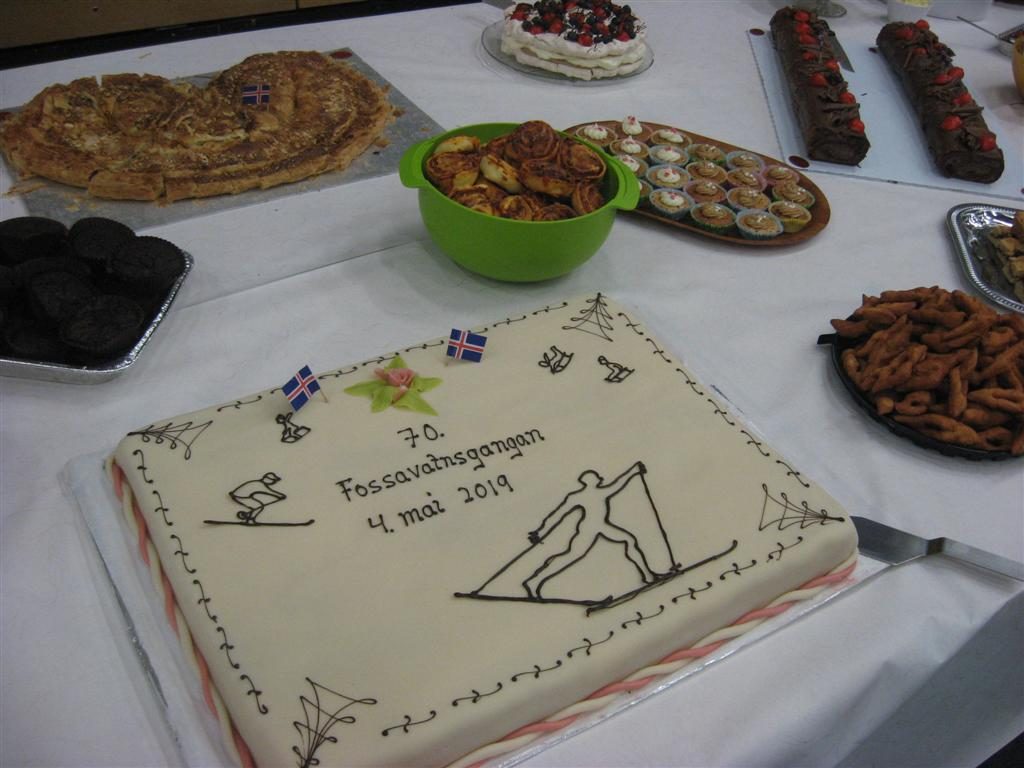
As a
reward for finishing such a gruelling race, the event provided a cake buffet in
the afternoon and a seafood dinner and dance in the evening.
Reward.
In addition to the race, J-E said he had a wonderful trip visiting Iceland, meeting other like-minded skiers and is motivated to do it all again at other international events.
A
huge congratulations from all of us in the club.
Check out this video if you want a taste of what J-E experienced. You don’t have to go this far to experience some fantastic loppets. A number of club members have completed the Gatineau Loppet (a WorldLopppet event in Gatineau Park), and there are a number of local loppets, such as the Muskoka Loppet (Arrowhead Provincial Park) and the Hardwood Loppet (Hardwood Hills).